In architectural design, crafting precise and detailed floor plans is essential for visualizing spaces, optimizing layouts, and providing clear blueprints for construction projects. Among the various tools available for designing 2D floor plans, AutoCAD remains the leading professional solution due to its accuracy, versatility, and extensive feature set. Its robust capabilities make it ideal for architects, engineers, and designers aiming to bring their architectural visions to life efficiently.
This guide walks you through the complete process of creating a 2D floor plan in AutoCAD, from initial setup to annotations, while also highlighting alternative software solutions for users seeking cost-effective options.
Step 1: Preparation
Before diving into drawing, ensure your AutoCAD workspace is properly configured. Begin by installing AutoCAD and understanding the design requirements of your floor plan. Set up your drawing file with the correct units (meters or feet), choose an appropriate paper size, and define a suitable scale.
Familiarize yourself with essential commands to streamline your workflow:
- Line (L)
- Polyline (PL)
- Offset (OFFSET)
- Arc (A)
- Circle (CIRCLE)
- Trim (TRIM)
- Object Snap (OSNAP)
- Copy (CTRL + C)
- Paste (CTRL + V)
- Delete (DELETE)
- Cancel Command (ESC)
Using these shortcuts enhances efficiency, allowing you to focus on accurate and detailed drafting. If AutoCAD is not an option due to cost, consider free floor plan software to get started.
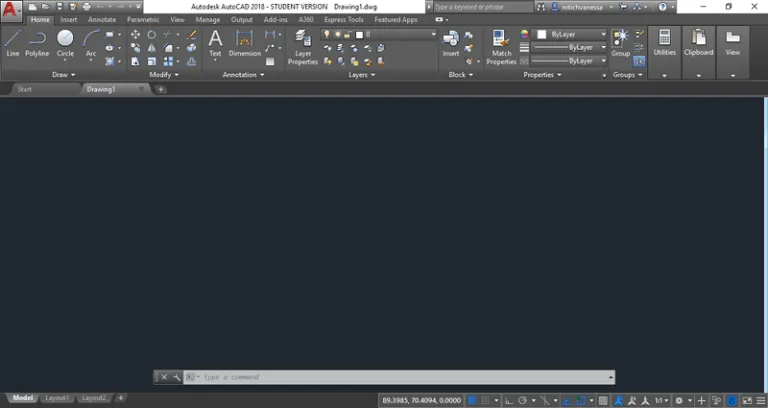
Step 2: Drawing External Walls
To start building your floor plan:
- Click New and select the “Tutorial i-Arch” template.
- Switch to Model Space via the “Paper” option in the status bar.
- Use the Rectangle tool to outline the exterior walls.
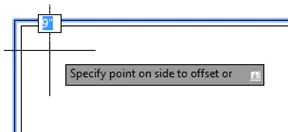
- Apply the Offset command to set wall thickness (e.g., 9 inches).
- Specify an inside point to complete the wall and press Enter to exit the command.
Accurate wall thickness and dimensions are critical to establishing the building’s structure.
Step 3: Drawing Interior Walls
Interior walls are generally thinner than exterior walls. Use the Line or Polyline commands along with the Offset tool to define internal partitions:
- Type MLINE and press Enter for the double line tool.
- Set the width (commonly 4 inches) using the w option.
- Select the starting point and extend the wall to its endpoint.
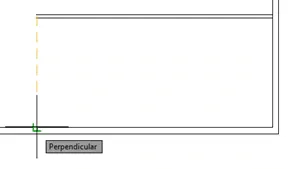
- Use Osnap Overrides with Nearest and Perpendicular to ensure accuracy.
- Press Enter to complete the wall.
Precise connection points with exterior walls ensure structural consistency.
Step 4: Adding Furniture, Decor, and Windows
Enhance your floor plan with realistic elements:
- Furniture and Decorations: Insert predefined blocks representing chairs, tables, light fixtures, or plants using the INSERT command. Adjust placement with MOVE, ROTATE, and SCALE.
- Windows: Draw using LINE, RECTANGLE, or window-specific blocks. Align windows accurately with walls for functional design.
This step helps visualize space utilization and functionality clearly.
Step 5: Annotation and Dimensioning
Finalize your floor plan by adding dimensions and labels:
- Use TEXT or MTEXT for room names and feature descriptions.
- Add symbols like north arrows or section marks with the LEADER command.
- Apply DIMLINEAR, DIMANGULAR, DIMRADIUS, and DIMDIAMETER to specify precise measurements.
Proper annotation ensures clarity for clients, builders, and collaborators.
Is AutoCAD the Right Choice for Floor Plans?
AutoCAD excels in creating both 2D and 3D floor plans, accurately depicting spatial relationships, furniture, doors, and windows. Its versatility and advanced tools make it the industry standard for architectural drafting.
However, AutoCAD’s subscription fees ($245/month, $1,975/year, $5,925/3 years) may be prohibitive for individual users or small firms. For cost-conscious users, free 2D CAD software or AutoCAD alternatives can be viable solutions.
ZWCAD offers a professional-grade, budget-friendly alternative. With a familiar interface, strong DWG compatibility, and advanced features like Smart tools, Area Table, and Flexiblock, ZWCAD supports efficient floor plan creation with lower system requirements and pricing starting at $322/year or a $899 perpetual license.
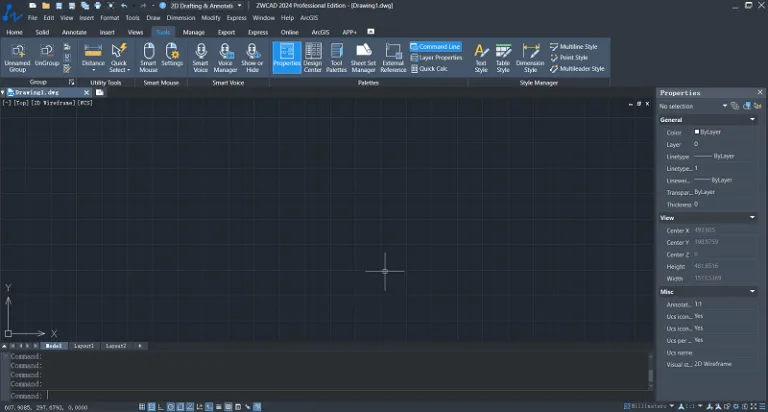 ZWCAD 2024 Interface
FAQs About AutoCAD Floor Plans
What Are Common AutoCAD Commands for Floor Plans?
Some frequently used commands include:
- Line (L) – Draw straight lines
- Offset (O) – Create parallel lines
- Copy (CO) – Duplicate objects
- Move (MO) – Relocate objects
- Trim (TR) – Remove excess parts
- Extend (EX) – Lengthen lines
- Mirror (MI) – Create mirrored objects
- Rotate (RO) – Adjust orientation
- Group (GR) – Combine objects
- Explode (EXP) – Separate objects
- Hatch (H) – Apply patterns (concrete, wood, glass)
- Arc (ARC) – Draw curved lines
Are There Video Tutorials for AutoCAD 2D Floor Plans?
Yes. Platforms like Udemy offer courses such as “AutoCAD – Learn How to Create a 2D Floor Plan” which guide users from basic concepts to advanced drafting skills with real-world projects.
Conclusion
Creating a 2D floor plan in AutoCAD involves careful preparation, accurate drawing of walls, incorporation of furniture and windows, and precise annotation. While AutoCAD provides a professional-level toolkit, alternatives like ZWCAD deliver comparable functionality at a more affordable price, making it ideal for users seeking a cost-effective and efficient CAD solution.
For architects, designers, or hobbyists aiming for professional-quality floor plans without breaking the bank, ZWCAD represents a perfect balance of performance, usability, and value.