Teaching your dog to heel is one of the most valuable skills for both safety and enjoyable walks. The heel command ensures your dog walks closely by your side, avoids dangerous distractions, and develops better leash manners. Whether you’re a new dog parent or an experienced owner, learning to teach your dog to heel can transform daily walks into a harmonious experience. This guide will walk you through the process in seven clear steps.
Understanding the Heel Command
Unlike basic leash training, which focuses on loose-leash walking, the heel command requires your dog to walk precisely beside you. The ideal position depends on your dog’s size: smaller dogs may align their head and shoulders with your ankles, while larger dogs might have their neck by your chest. In obedience competitions, dogs typically heel on the left side, but you can train them on either side according to your preference.
Why the heel command matters:
- Safety: Keeps your dog close in potentially hazardous situations, such as near traffic or aggressive dogs.
- Control: Helps regulate your walking pace, teaching your dog to respond to your movements.
- Convenience: Useful when exiting the house or car, preventing your dog from rushing off unexpectedly.
Step-by-Step Guide to Teaching Your Dog to Heel
1. Gather Your Training Supplies
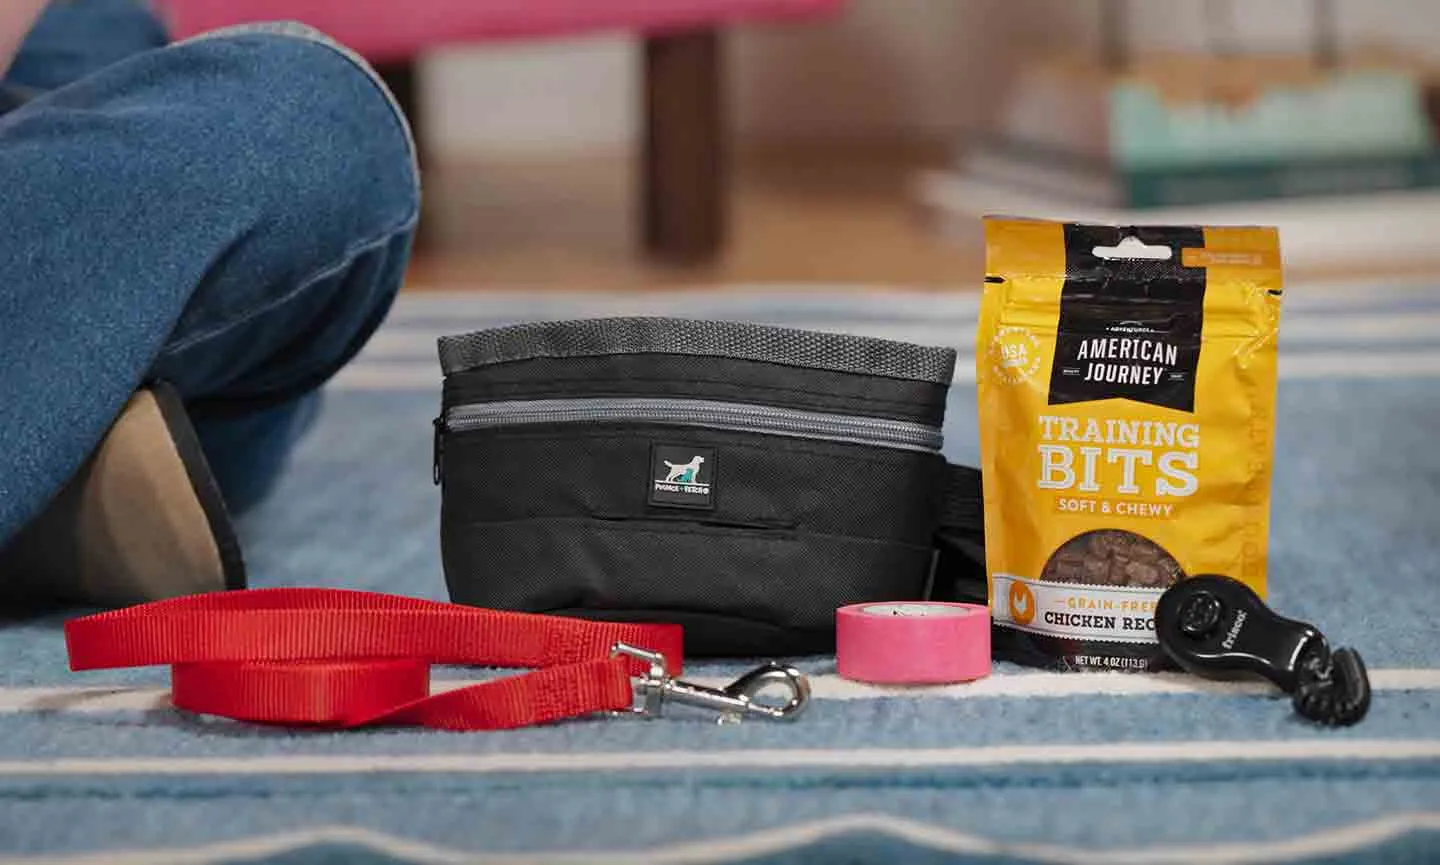
For effective training, prepare:
- A treat pouch to keep your hands free
- High-value dog training treats
- A clicker (optional)
- A sturdy leash
- Masking tape to mark positions
- Comfortable walking shoes
2. Practice Handling Leash and Treats Without Your Dog
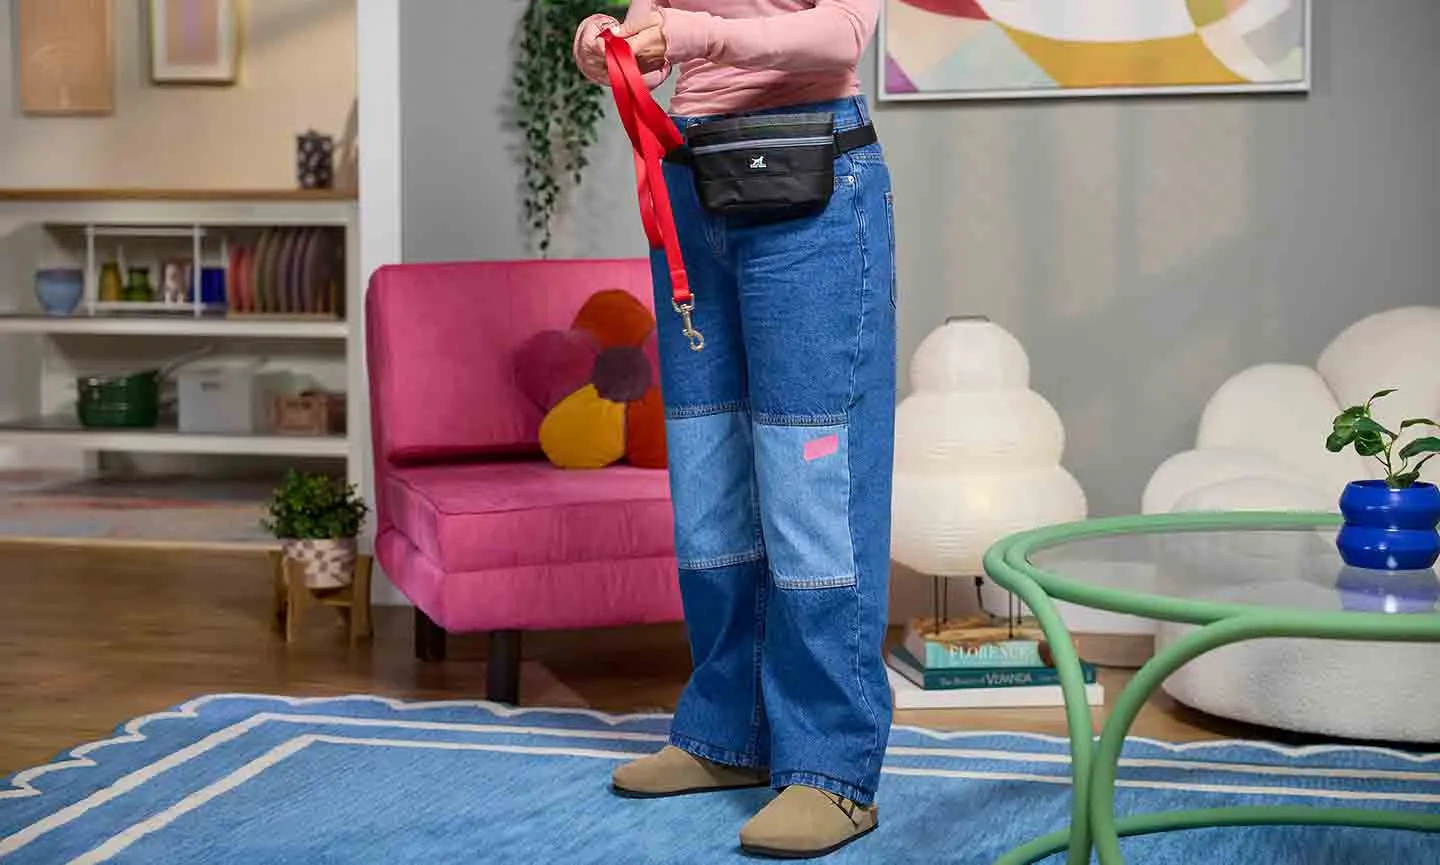
Before engaging your dog, simulate training:
- Mark the heel position on your leg with masking tape.
- Wear your treat pouch and hold the leash in the opposite hand from your dog’s heel side.
- Practice feeding treats at the marked spot while maintaining proper leash control.
This rehearsal ensures smooth execution during actual training.
3. Position Your Dog Correctly
Start in a quiet, confined space. Place your dog in the proper heel position beside you. If your dog knows the “stay” command, use it to help maintain this position while you prepare.
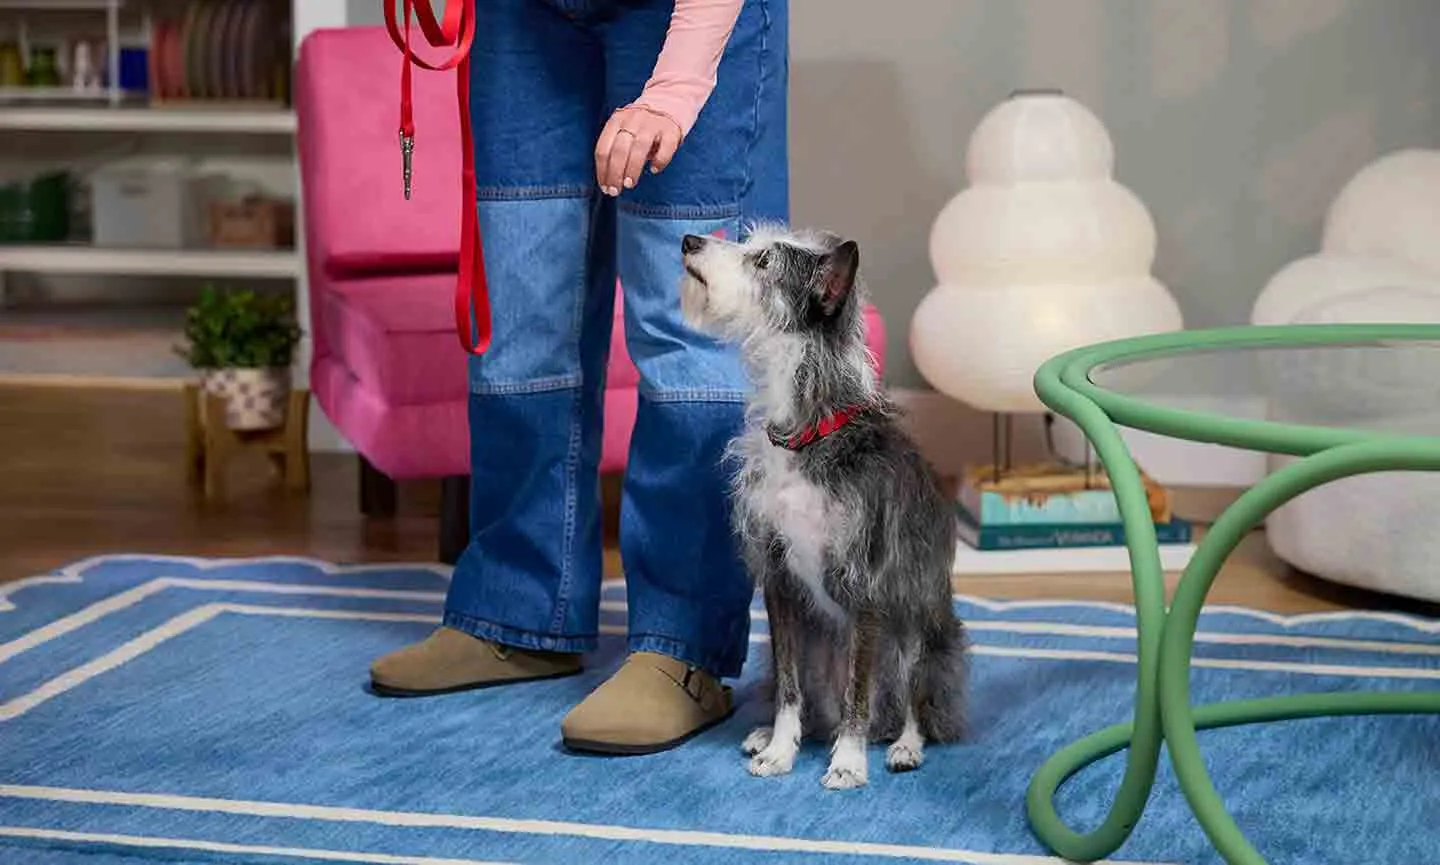
4. Reinforce the Heel Position
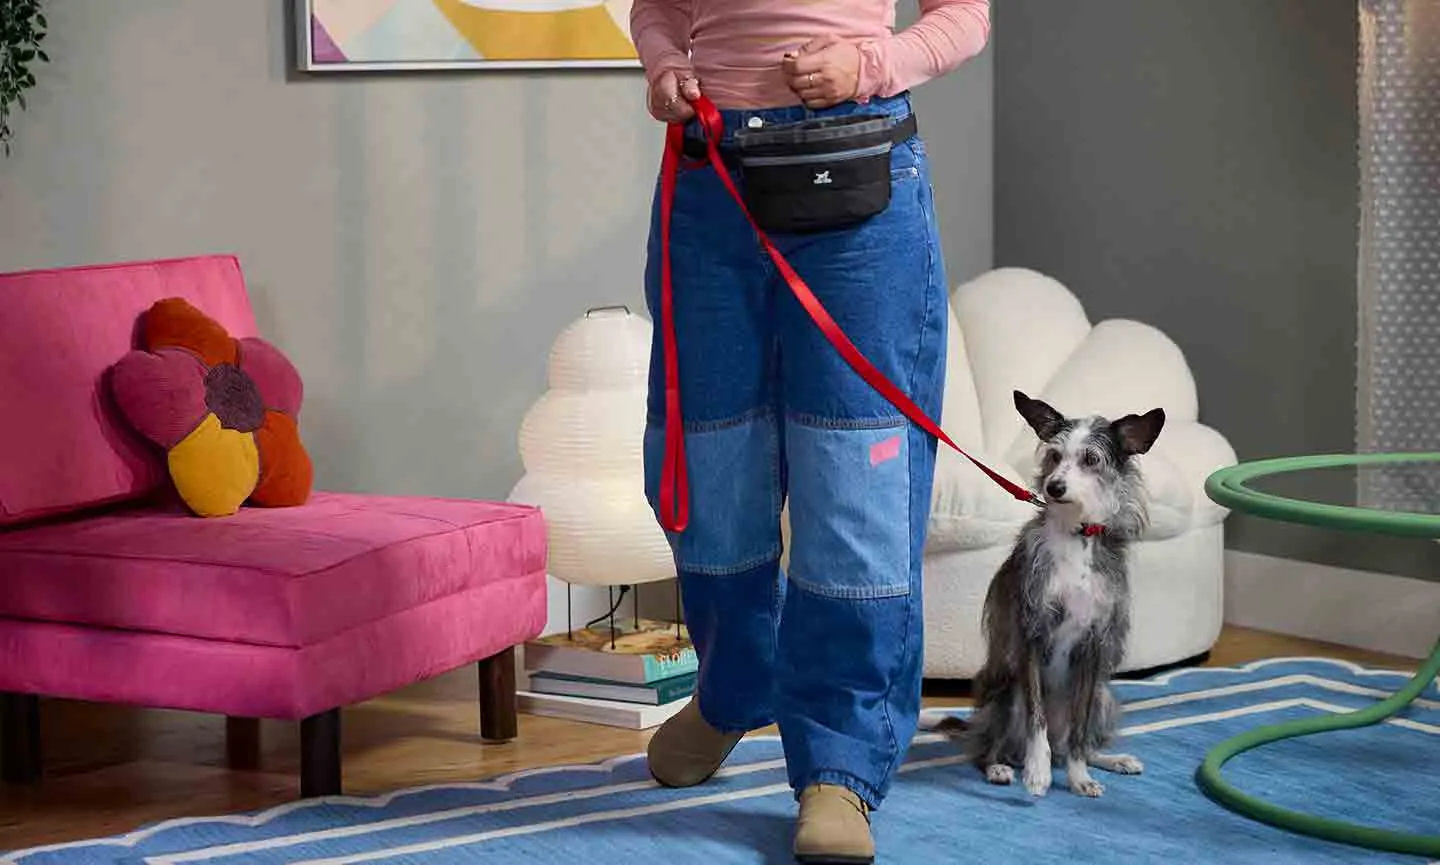
 Owner rewarding dog at heel position
Praise or click your dog, then offer a treat at the marked spot. Repeat several times so your dog associates the position with positive reinforcement.
5. Introduce Movement
Take small steps forward, allowing your dog to move naturally. Reward your dog when they maintain heel position. Gradually increase stride length as your dog becomes consistent.
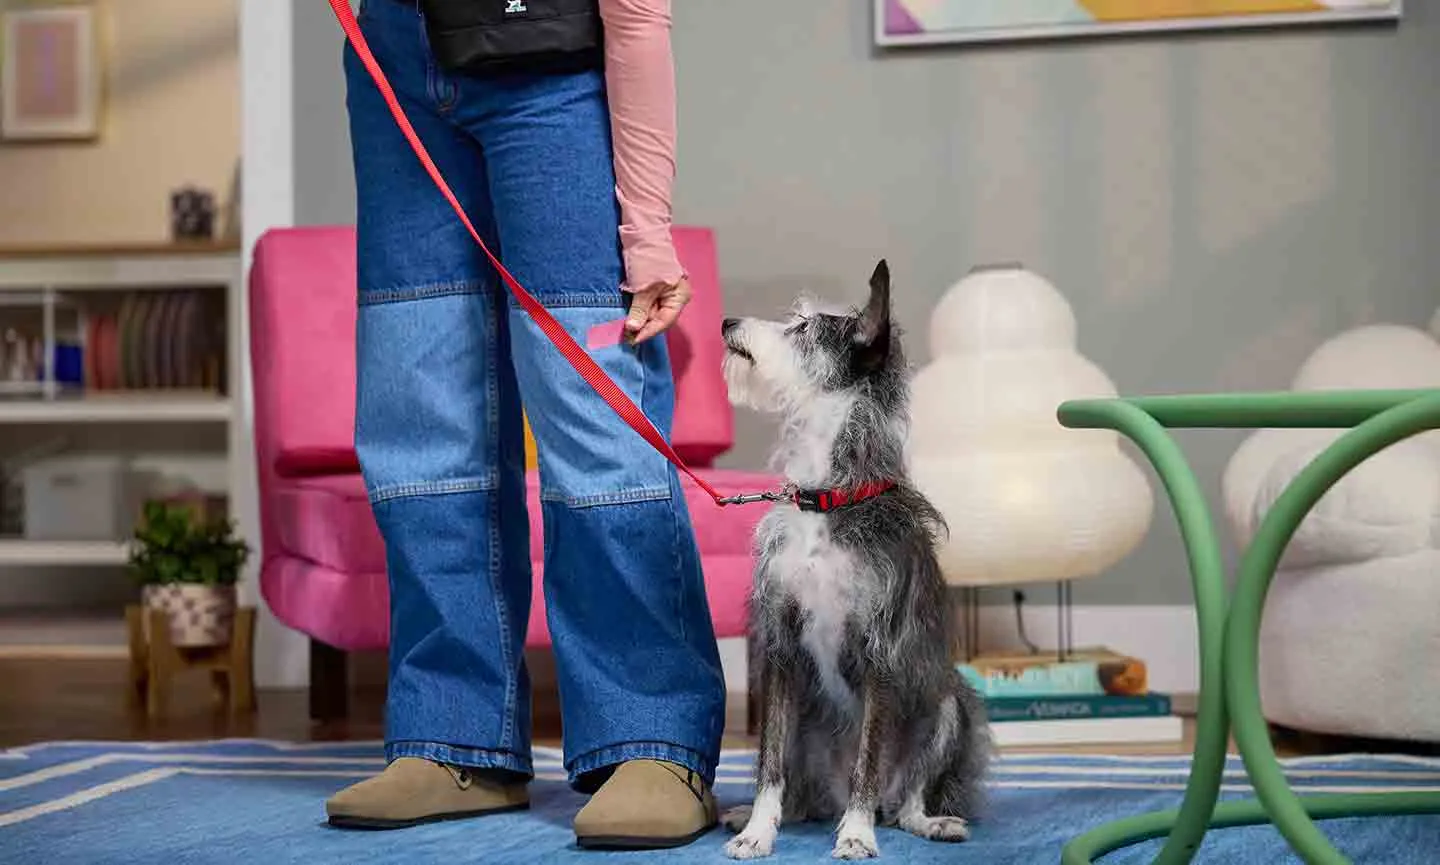
6. Add the Heel Command
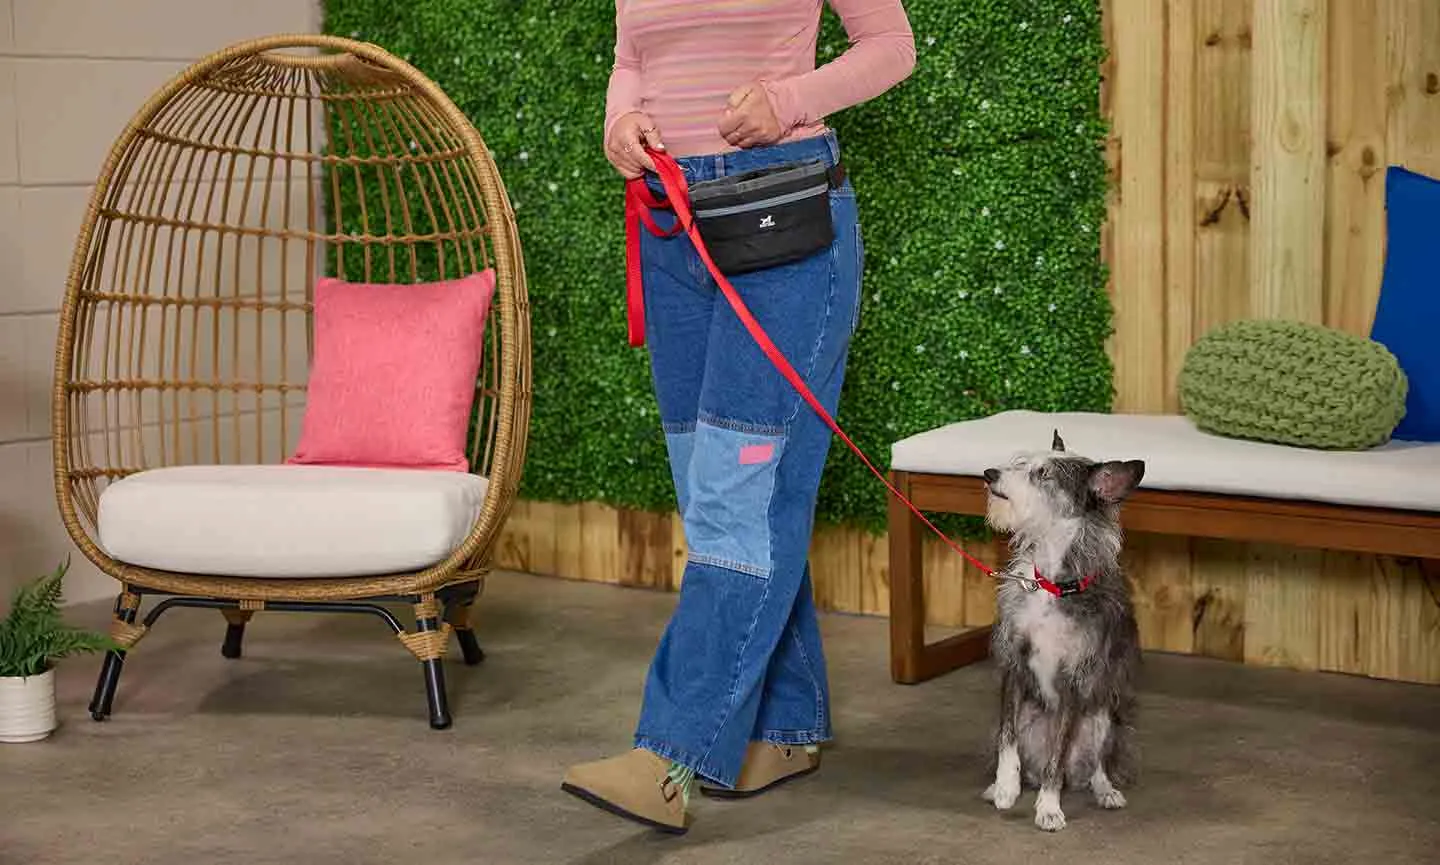
 Owner giving verbal heel command during training
Say “heel” before each step. Feed treats intermittently, gradually reducing treat frequency to encourage independent obedience. Always return your hand to waist level after giving a treat.
7. Practice in Larger Spaces
Transition to larger rooms and eventually outdoor spaces. Start each new area at step 3 to reinforce learning. Once mastered, your dog can heel reliably in varied environments.
Bonus: Off-Leash Heel Training
For advanced training, repeat the process off-leash in safe, enclosed areas. Always consider safety and local leash regulations before attempting off-leash practice.
Tips for Effective Heel Training
- Keep sessions short (under five minutes).
- Use high-value treats, especially outdoors.
- Allow your dog freedom to sniff and explore when not in heel position.
- Consult a certified professional dog trainer for guidance if needed.
- Pair heel training with complementary skills like eye contact and sit commands.
References
- Chewy Education. Basic Dog Obedience Training.
- Chewy Education. Leash Training Guide.
- Chewy Education. Certified Professional Dog Trainer Resources.