Macros are one of the most powerful features in Microsoft Excel, allowing you to automate repetitive tasks and streamline your workflow. For beginners starting their journey with VBA (Visual Basic for Applications), understanding the fundamentals of macros is essential. This comprehensive guide covers everything you need to know: the structure of a macro, various methods to use them, how to stop a running macro, and the correct way to save files that contain macro code.
Structure of a Macro in Excel
A macro in Excel is essentially a piece of code written in the VBA editor that executes specific commands. Every macro follows a consistent structure that makes it easy to read, write, and maintain.
Let’s break down the anatomy of a typical macro:
1. Macro Declaration (Sub Statement)
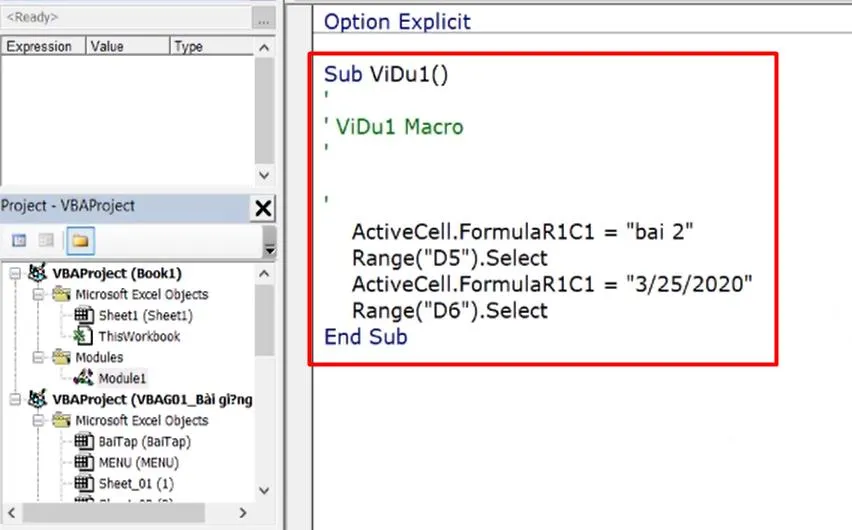
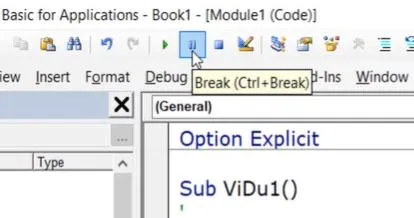
The macro begins with the keyword Sub followed by the name you assign to the macro. In the example image above, the macro is named ViDu1. After the macro name, parentheses () are required, even if no arguments are passed.
2. Comments (Green Text)
Lines that start with an apostrophe (') appear in green and are comments. These are explanatory notes for human readers and are ignored when the macro runs. They are invaluable for documenting your code.
3. Macro Body (Black Text)
The section below the comments contains the actual VBA code—the instructions that tell Excel what to do. This is where the automation logic resides.
4. End Sub
The macro concludes with the End Sub statement. When you type Sub followed by the macro name and press Enter, the VBA editor automatically adds End Sub, allowing you to immediately start writing your code between these two lines.
How to Use Macros in Excel
Once you have written a macro, you can execute it in several ways, depending on your workflow and preference.
Method 1: Run from the VBA Editor
The most direct method is to run the macro from the Visual Basic Editor window. Locate the Run button (green triangle icon) on the toolbar. Alternatively, you can use the keyboard shortcut F5 to execute the macro where your cursor is positioned.

Method 2: Launch from the Excel Interface with Alt + F8
You don’t need to open the VBA editor to run a macro. From any Excel worksheet, simply press Alt + F8 on your keyboard. This opens the Macro dialog box, which lists all macros available in your current workbook.
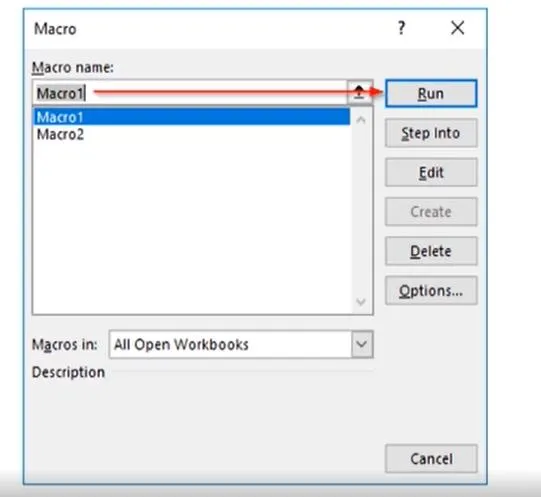
From this dialog:
- Select the macro you want to execute
- Click the Run button
This method is efficient when you need to run a macro quickly without navigating through the VBA interface.
Method 3: Assign Macro to Shapes or Buttons
For a more user-friendly and professional approach, you can assign macros to shapes, icons, or form controls. This creates an interactive element on your worksheet that users can click to trigger the automation.
Steps to assign a macro to a shape:
- Go to the Insert tab in the Excel ribbon
- Click Shapes and select any shape you prefer
- Draw the shape on your worksheet
 Insert tab in Excel with Shapes dropdown menu open, showing various shape options for macro assignment
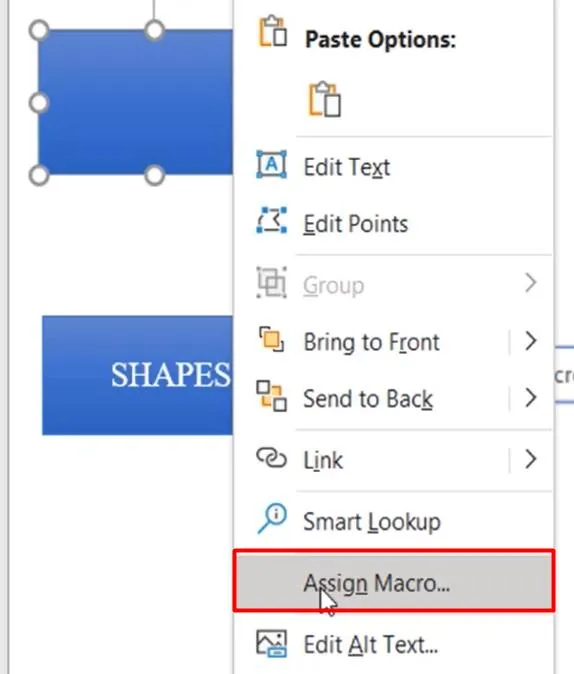
- Right-click on the shape and choose Assign Macro from the context menu
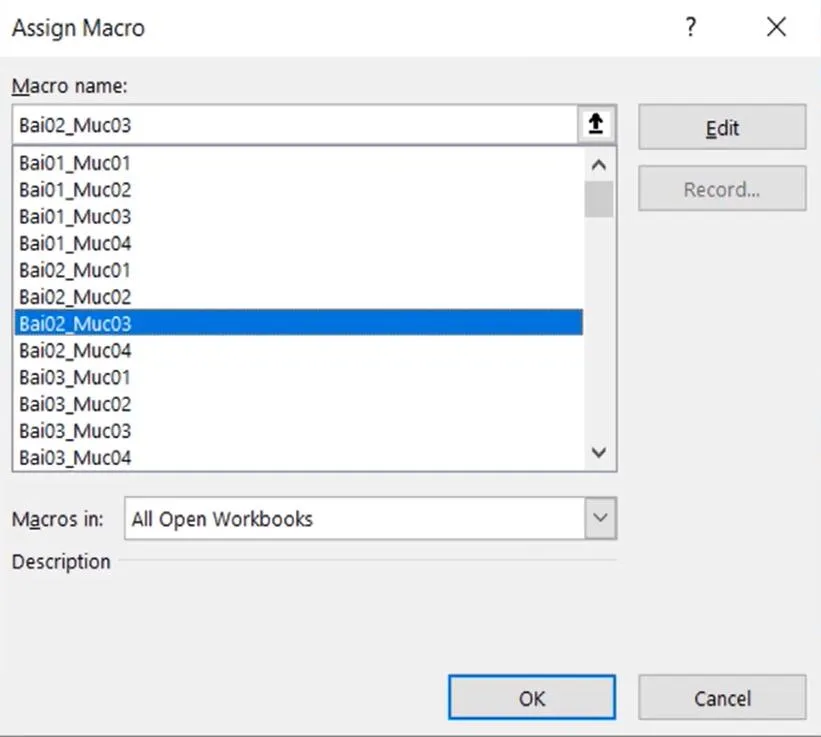
- In the Assign Macro dialog, select the macro you want to associate with the shape
- Click OK to confirm
This technique is excellent for creating custom navigation menus, dashboards, and toolbars that make your workbook both functional and visually appealing.
How to Stop a Running Macro
Sometimes a macro may encounter an error, enter an infinite loop, or you simply need to pause execution to debug. Knowing how to interrupt a running macro is a critical skill.
To stop a macro while it’s executing:
Method 1: Use the Break Button
In the VBA editor, locate the Break button (blue square icon) on the toolbar, positioned near the Run button. Clicking this will pause the macro at the current line of code.
Method 2: Use the Keyboard Shortcut
Press Ctrl + Break (or Ctrl + Pause) on your keyboard. This is often faster than navigating to the toolbar.
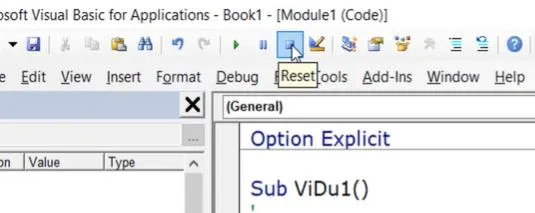
 VBA toolbar with Break and Reset buttons highlighted for controlling macro execution
When the macro is paused:
- The code execution stops, and you can inspect variable values or review logic
- To restart from the beginning, click the Reset button (blue square icon) located next to the Break button
- After resetting, you can run the macro again using any of the methods described above
How to Save Excel Files Containing Macros
One of the most common mistakes beginners make is losing their VBA code when saving files. By default, Excel uses the .xlsx file extension, which does not support macro storage. If you attempt to save a workbook containing macros with the .xlsx format, Excel will display a warning message.
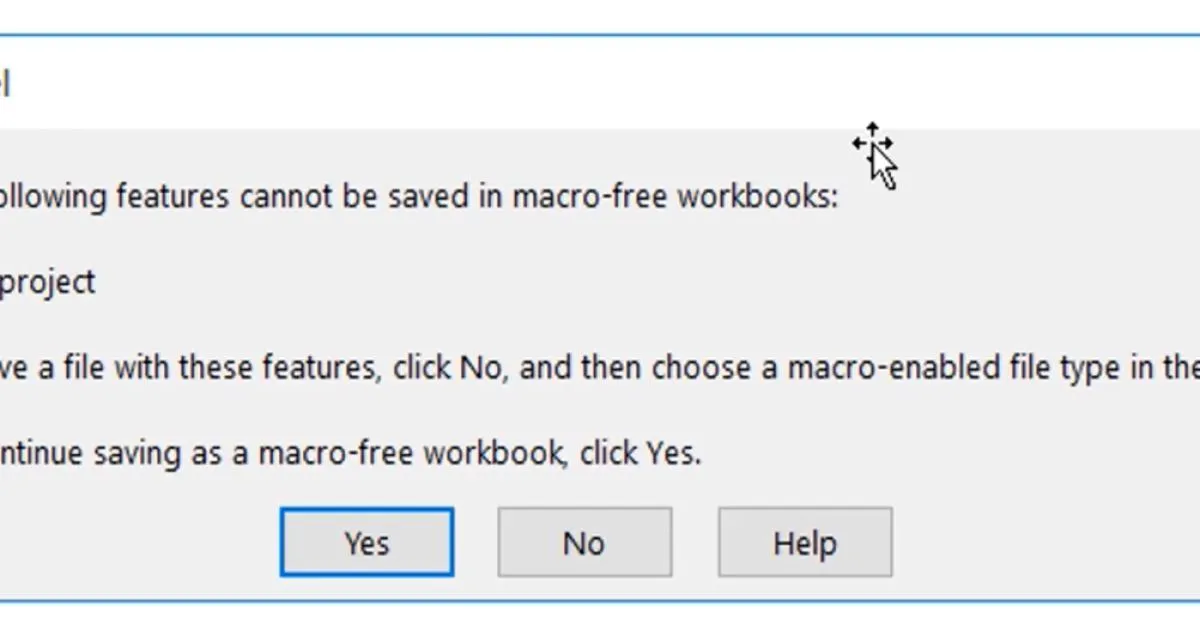 Excel warning dialog indicating that a file with macros cannot be saved as a macro-free workbook
This warning states that the file format does not support workbooks containing VBA projects. If you click Yes to proceed, all macro code will be permanently removed from the file.
To properly preserve your macros, you must save your workbook in a macro-enabled format:
- Excel Macro-Enabled Workbook (.xlsm) – The standard format for files containing VBA code
- Excel Binary Workbook (.xlsb) – A binary format that also supports macros and offers faster performance with large datasets
Steps to save a macro-enabled file:
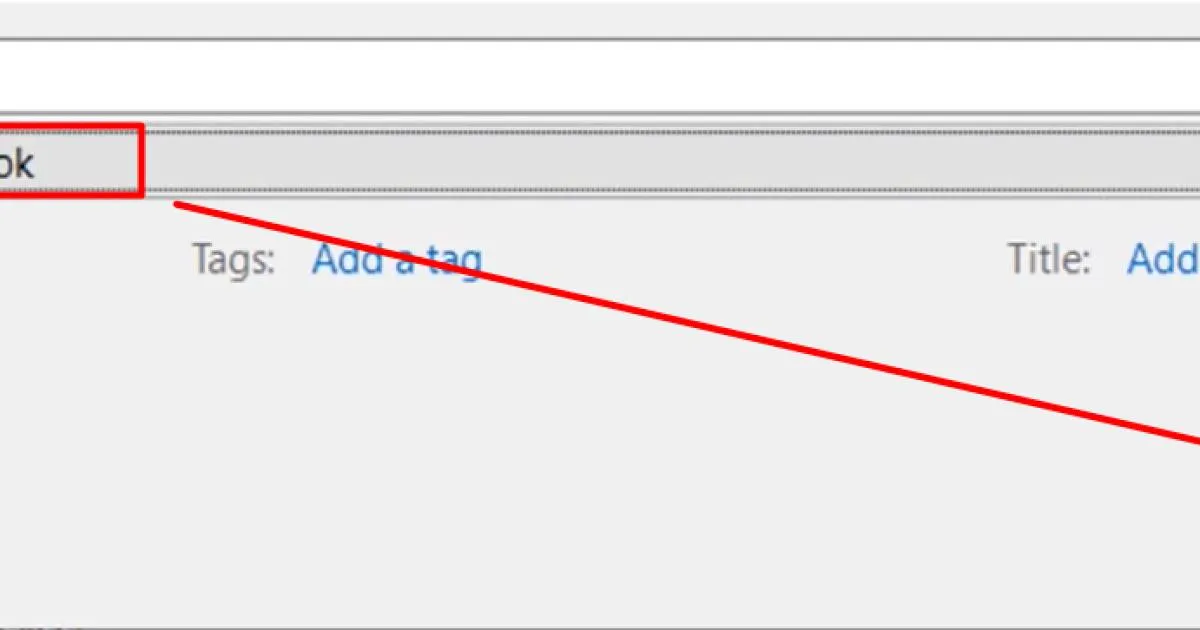
- Press F12 to open the Save As dialog
- In the Save as type dropdown, select either:
- *Excel Macro-Enabled Workbook (.xlsm)**
- *Excel Binary Workbook (.xlsb)**
- Choose your desired file location
- Click Save
Once saved with the correct extension, your VBA code will be preserved and will run properly whenever you reopen the file.
Conclusion
Mastering the fundamentals of Excel macros is the first step toward becoming proficient in VBA automation. Understanding the structure of a macro helps you write clean, maintainable code. Knowing the three ways to run macros—through the VBA editor, with Alt + F8, or by assigning to shapes—gives you flexibility in how you implement automation. Learning to stop macros with Ctrl + Break ensures you can regain control when things don’t go as planned. Finally, saving your work in the correct .xlsm or .xlsb format protects your code from being lost.
These foundational skills will serve you well as you explore more advanced VBA techniques. Practice creating and running simple macros to build confidence, and soon you’ll be automating complex tasks with ease. If you found this guide helpful, please share it with others who are beginning their journey with Excel macros.