For the past year and a half, I’ve been hosting weekly Dungeons & Dragons game nights with a group of seven players, gathering around a dining room table that was never really designed for that kind of chaos. Books, dice, miniatures, notes, and DM tools quickly turned every session into a cramped battlefield before the actual campaign even started. The idea behind this build was simple: create a dedicated, functional, and immersive Dungeons & Dragons gaming table that could handle long campaigns while still working as a normal household table when needed. This guide walks through the full DIY process, materials, and design decisions behind the project, optimized for anyone searching for a high-quality [keyword] solution.
Planning a Dedicated D&D Gaming Space
The original setup worked, but it wasn’t sustainable. A standard dining table meant constant setup and teardown, and the lack of space made gameplay feel restricted, especially with a large party. The goal became clear: build a hybrid gaming table that could function both as a hidden gaming pit and a regular surface for everyday use.
The design concept included:
- A recessed play area for maps and miniatures
- Removable tabletop panels for conversion
- Integrated cup holders for practicality
- A durable rustic “tavern-style” aesthetic
- Optional lighting for immersion
Instead of purchasing a prebuilt gaming table (which often costs over $1,000), the decision was made to build a custom version with more flexibility and personality.
Materials and Foundation Build
The project began with cutting and preparing the main surface. A large plywood sheet became the base structure for the entire table, defining the play area and overall dimensions.
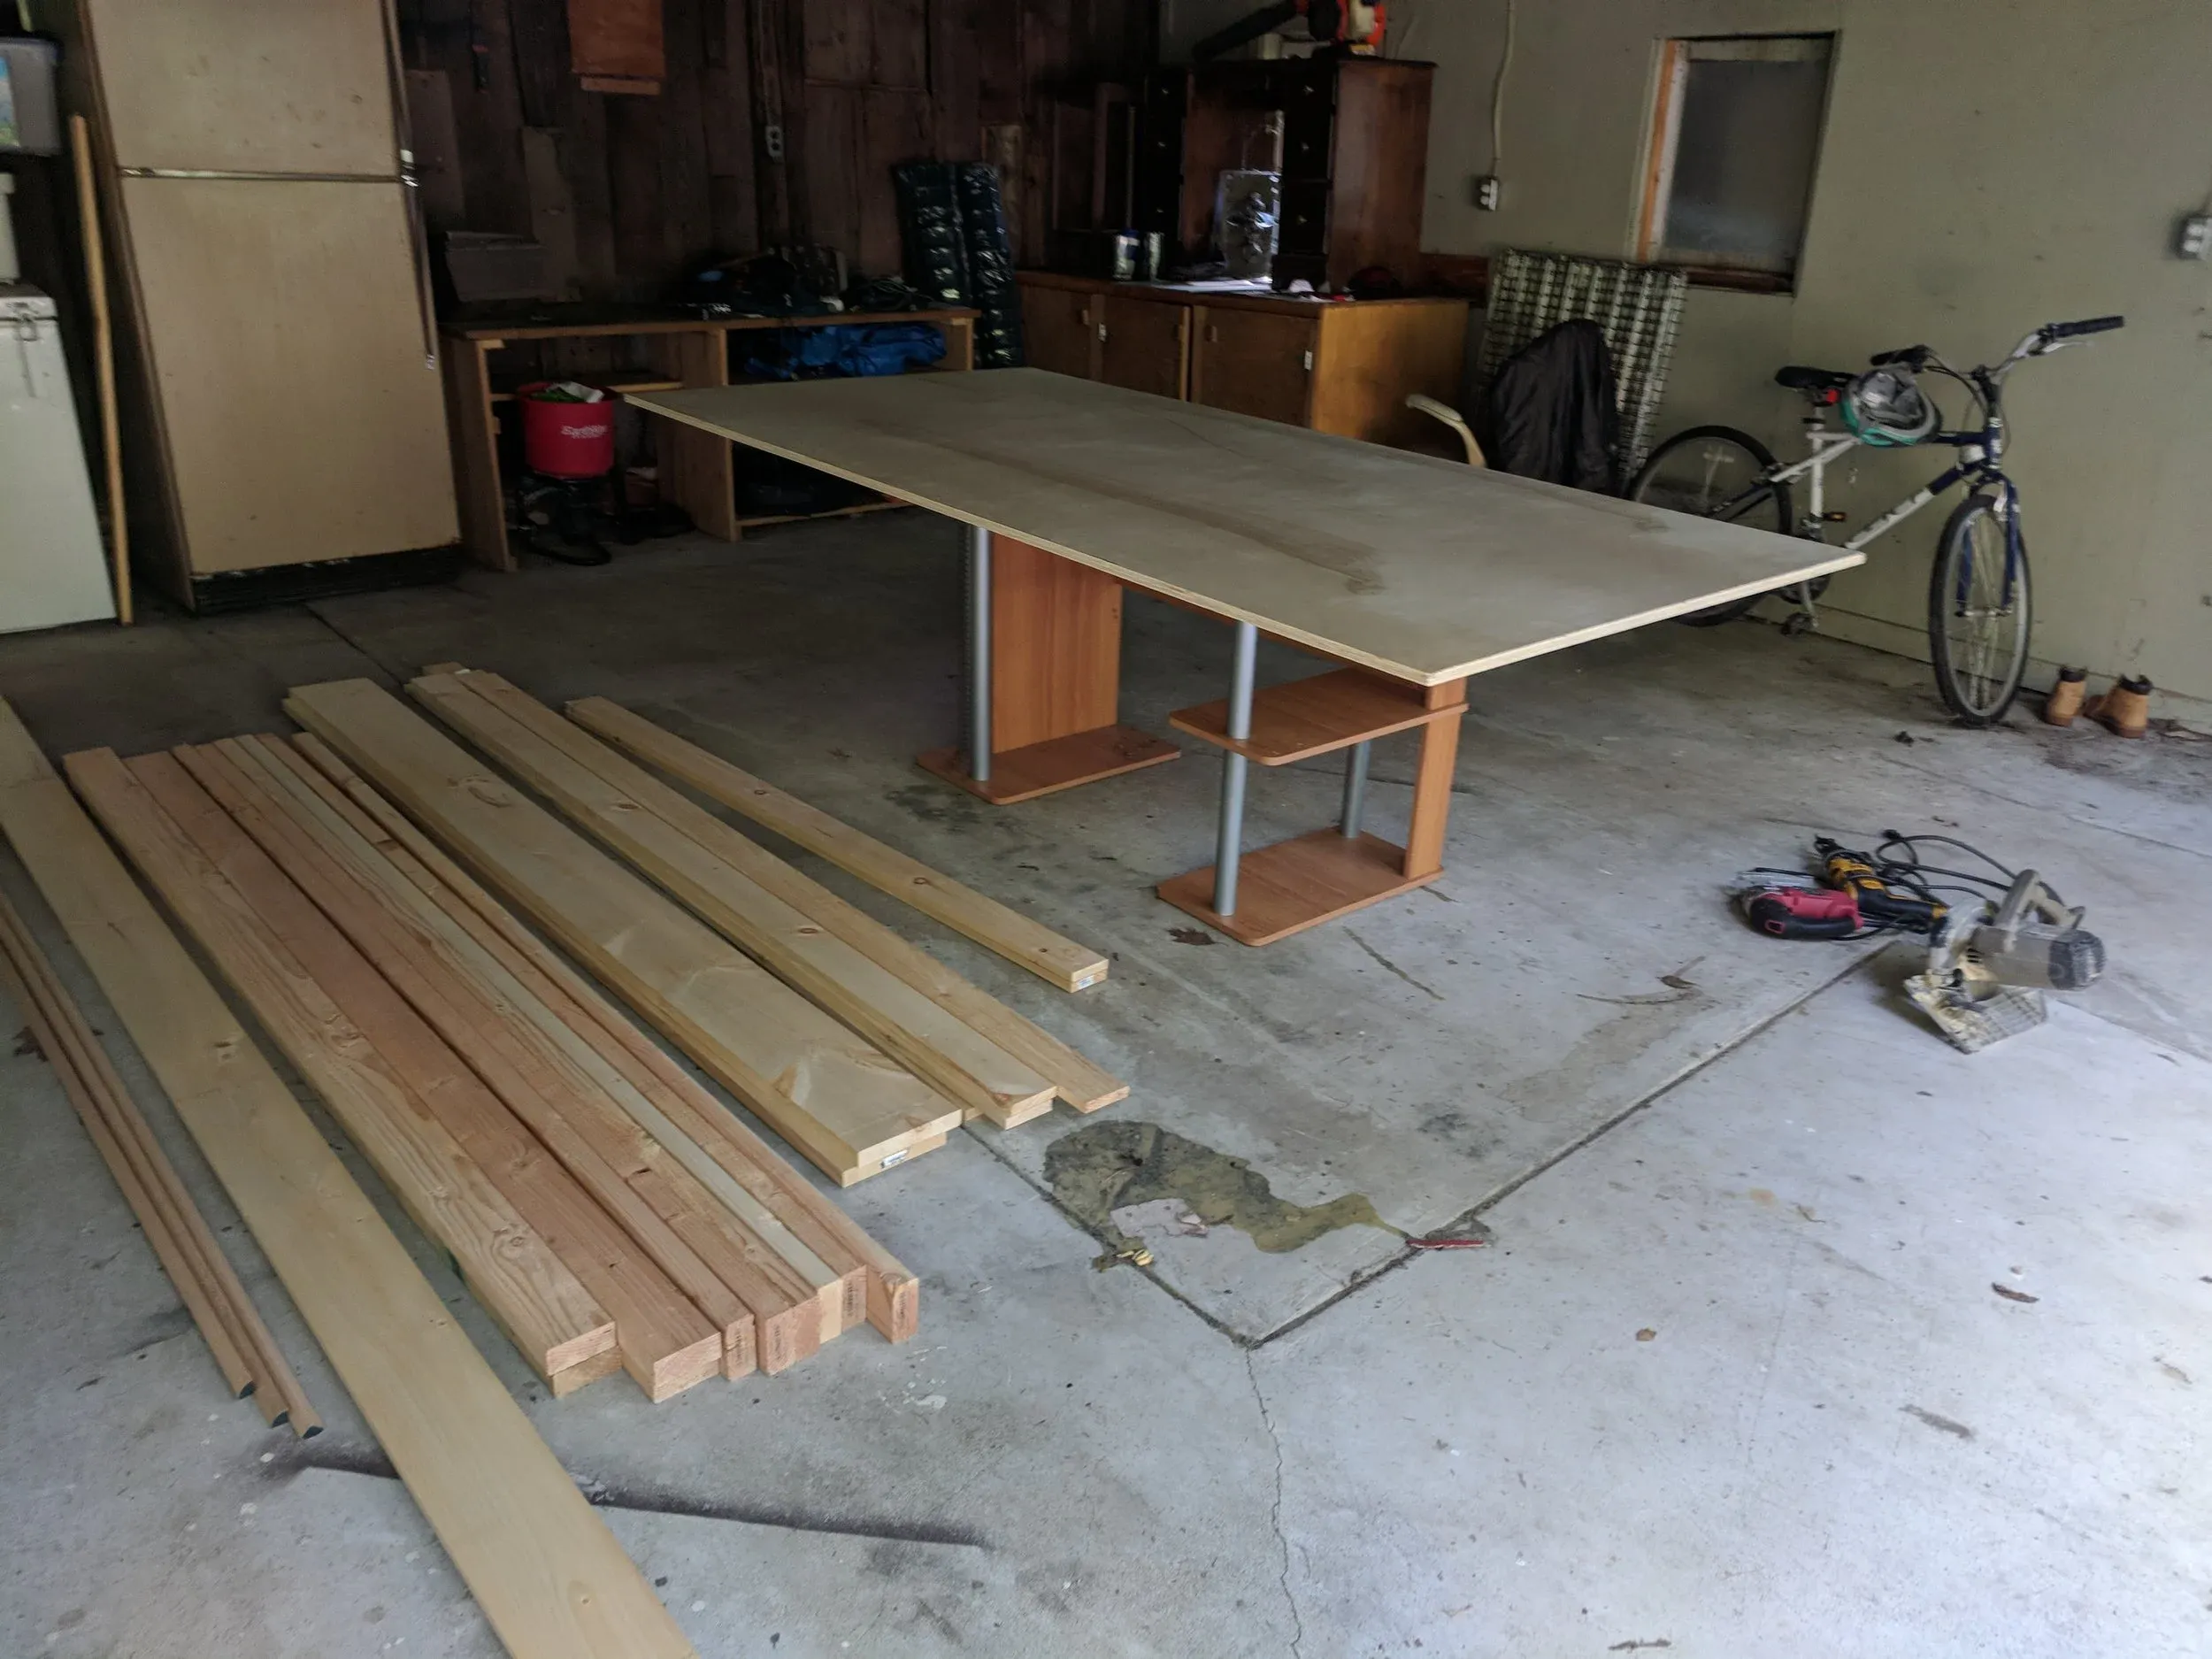
The base was sized to comfortably fit a full party of players while still allowing room for dice trays, character sheets, and miniatures. From here, the structural support system was built using 2×4 framing underneath to ensure stability and long-term durability.
Key foundation steps included:
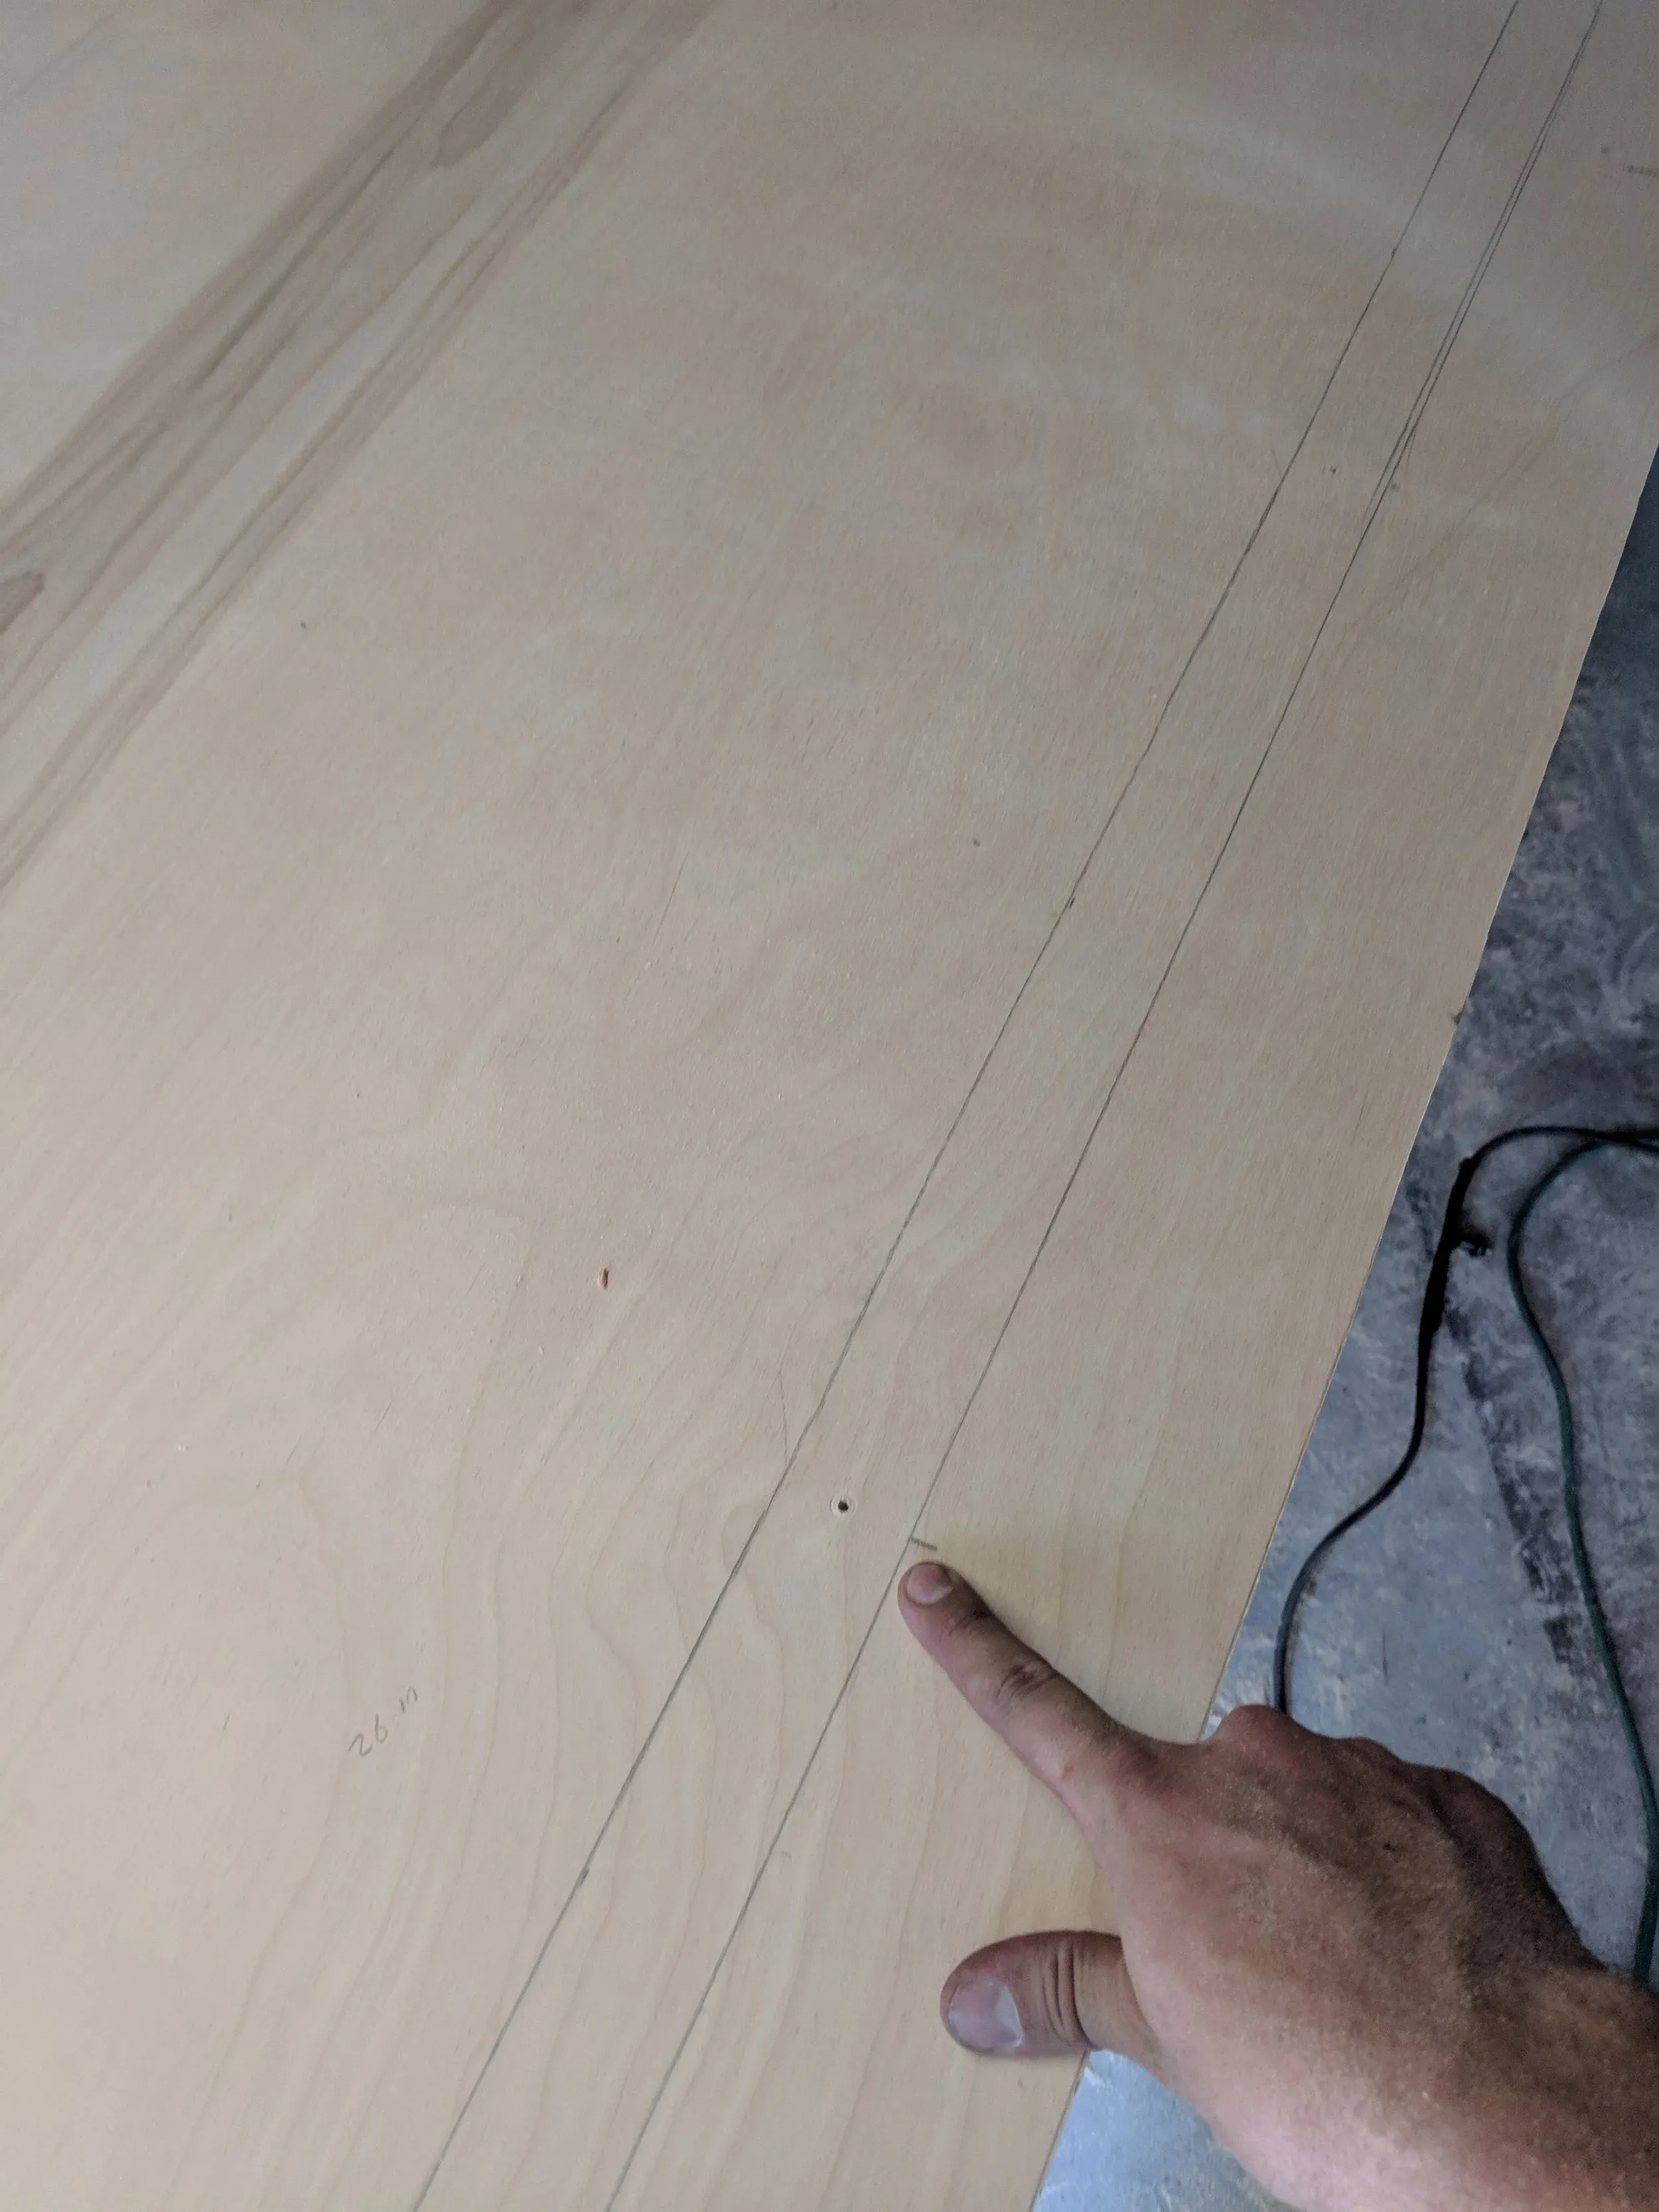
- Cutting plywood to the play-area size
- Adding a reinforced 2×4 underside frame
- Ensuring weight distribution across the entire surface
- Pre-drilling holes to avoid splitting wood
This stage is critical in any [keyword] project because structural integrity determines how well the table holds up during long gaming sessions.
Structural Framing and Table Shape
After the base was secured, the next step was building the structural frame that would define the table’s raised edges and recessed play zone. This included both support beams underneath and the upper border that creates the “gaming pit” effect.
This stage transforms a simple wooden platform into a functional gaming table. The raised edges were designed to:
- Hold removable cover panels
- Prevent dice and miniatures from falling
- Provide armrest space for players
- Add structural rigidity to the entire build
Precision matters here, especially when aligning the frame so the top cover sits flush without shifting during gameplay.
Designing the Play Surface
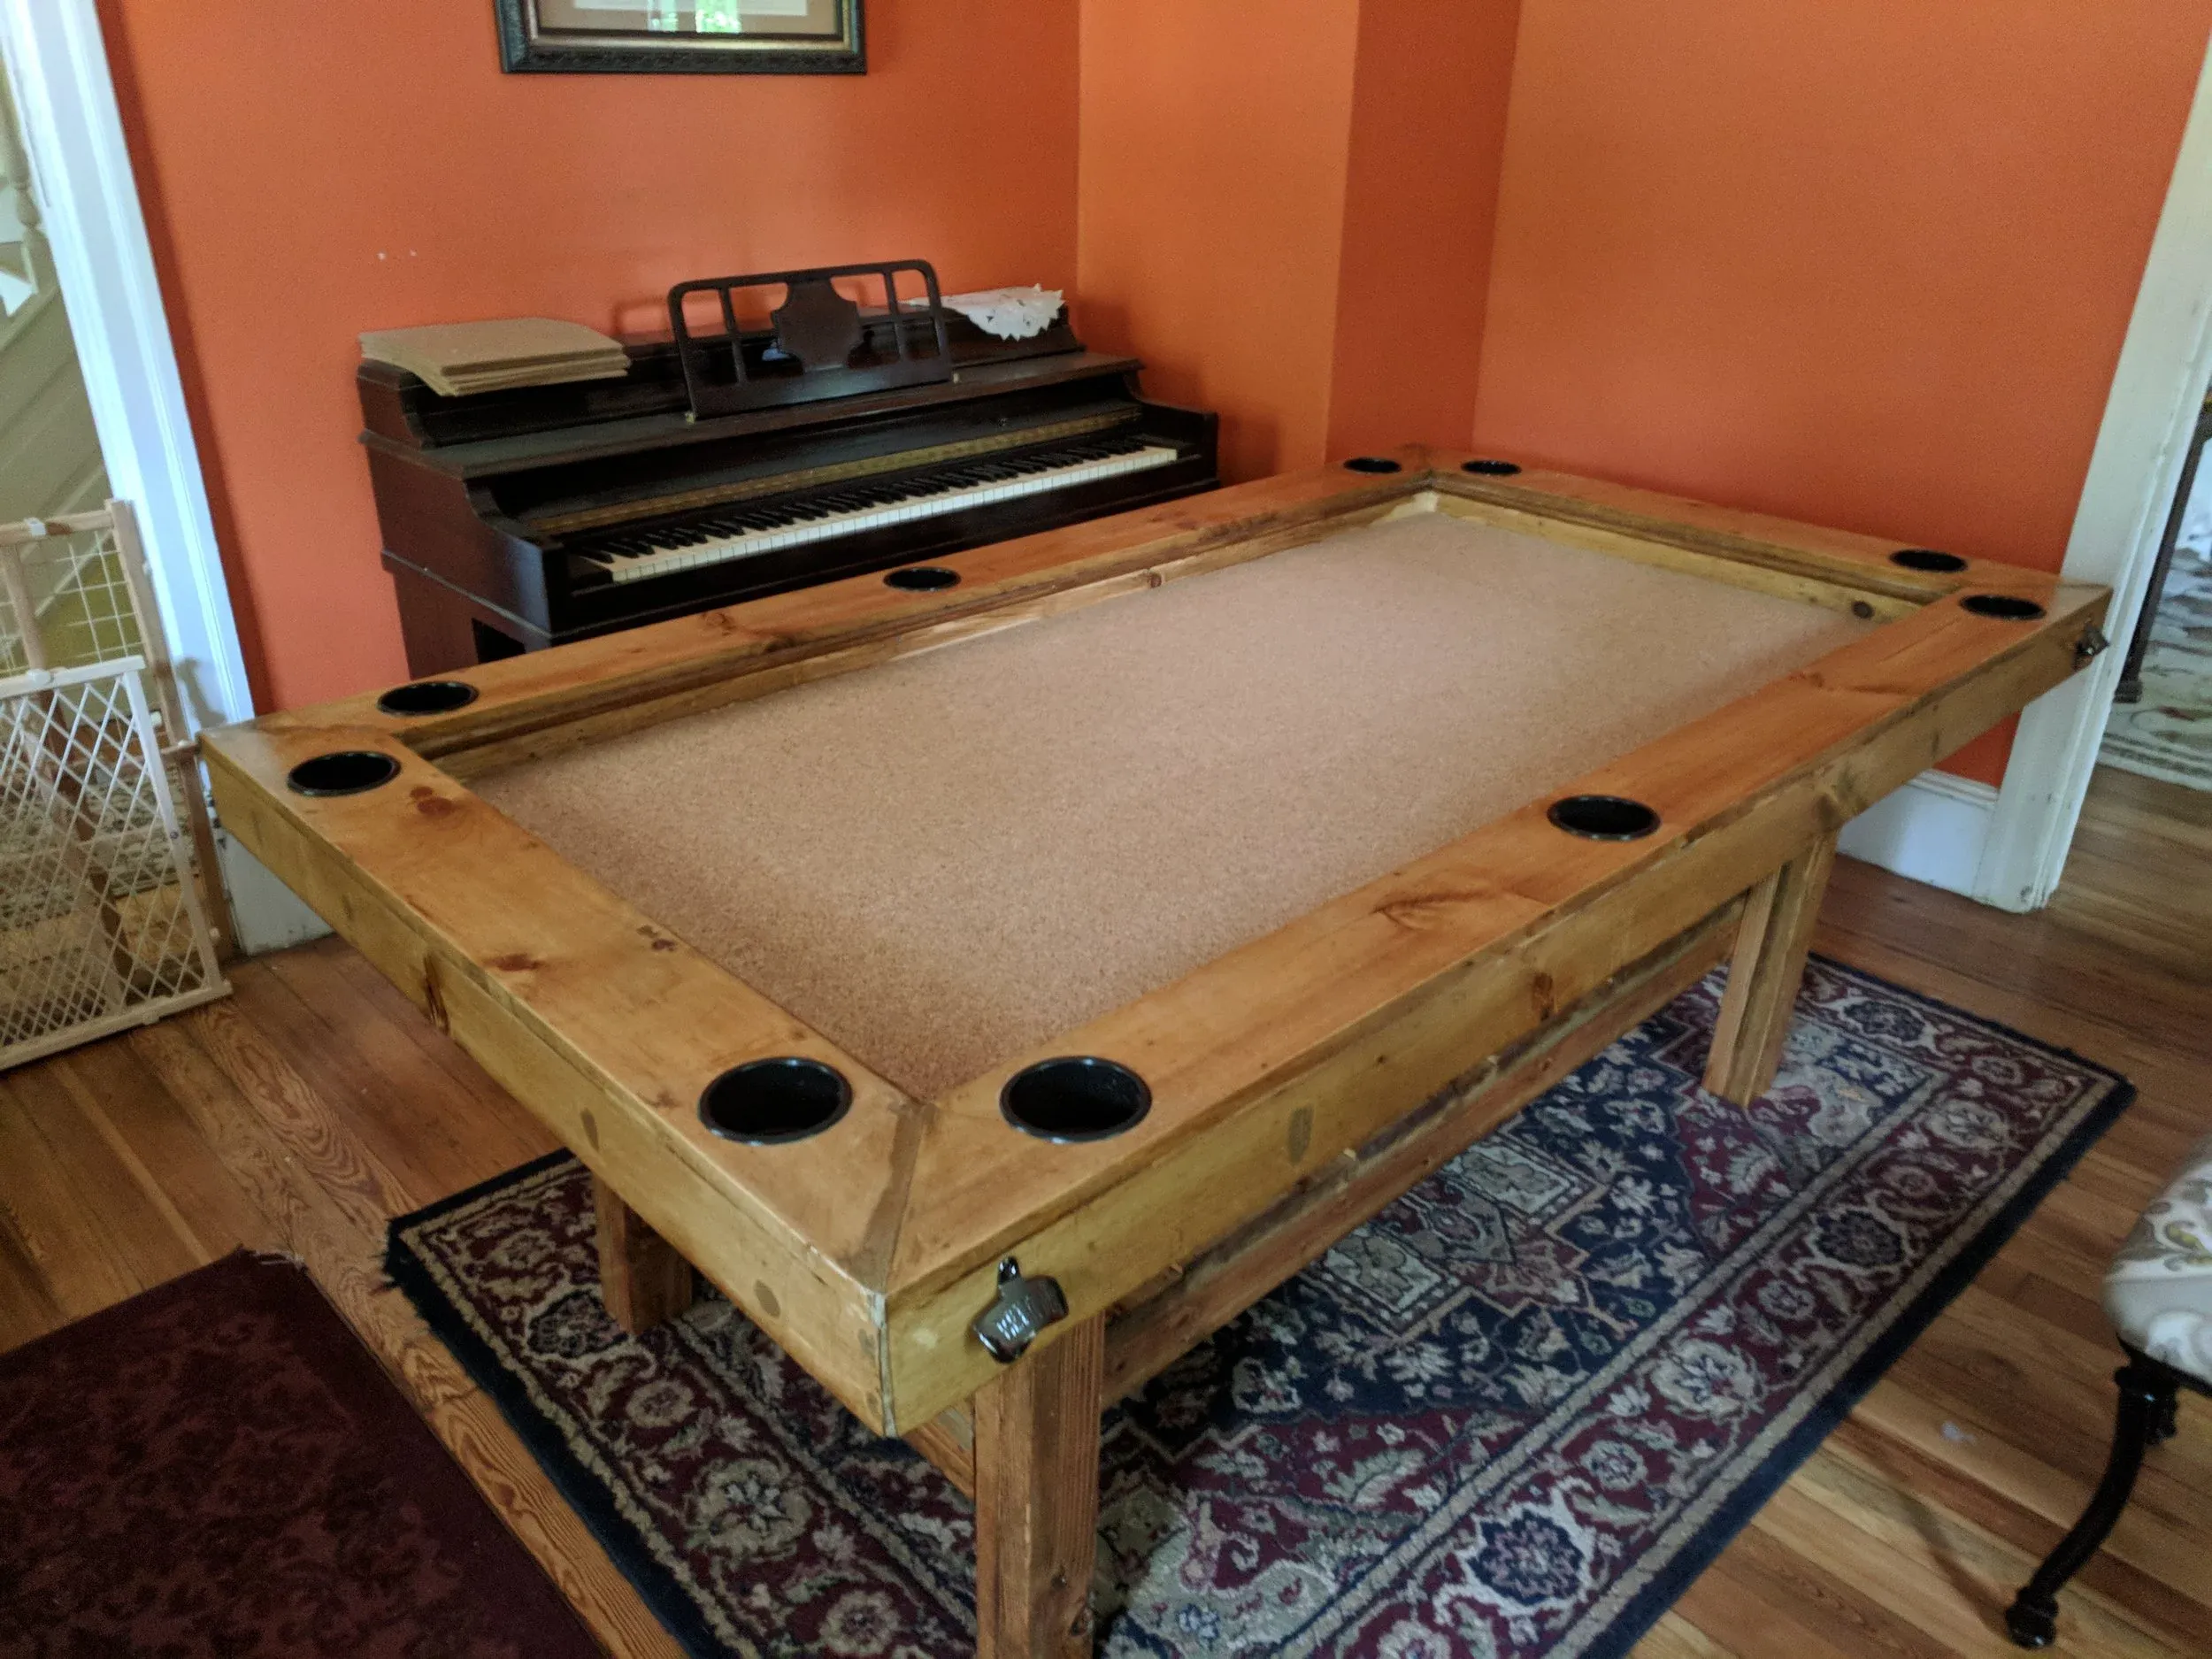
One of the most important upgrades in this build was the actual play surface inside the recessed area. Instead of leaving raw wood, a cork sheet was used to create a softer, more tactical-friendly environment for miniatures and dice rolls.
The cork surface provides:
- Reduced dice bounce and noise
- Better grip for miniatures and terrain pieces
- A visually distinct “battlefield” zone
- Improved immersion during combat encounters
This upgrade significantly improves usability for long RPG sessions and is a key feature in any serious DIY [keyword] gaming table design.
Lighting and Immersion Enhancements
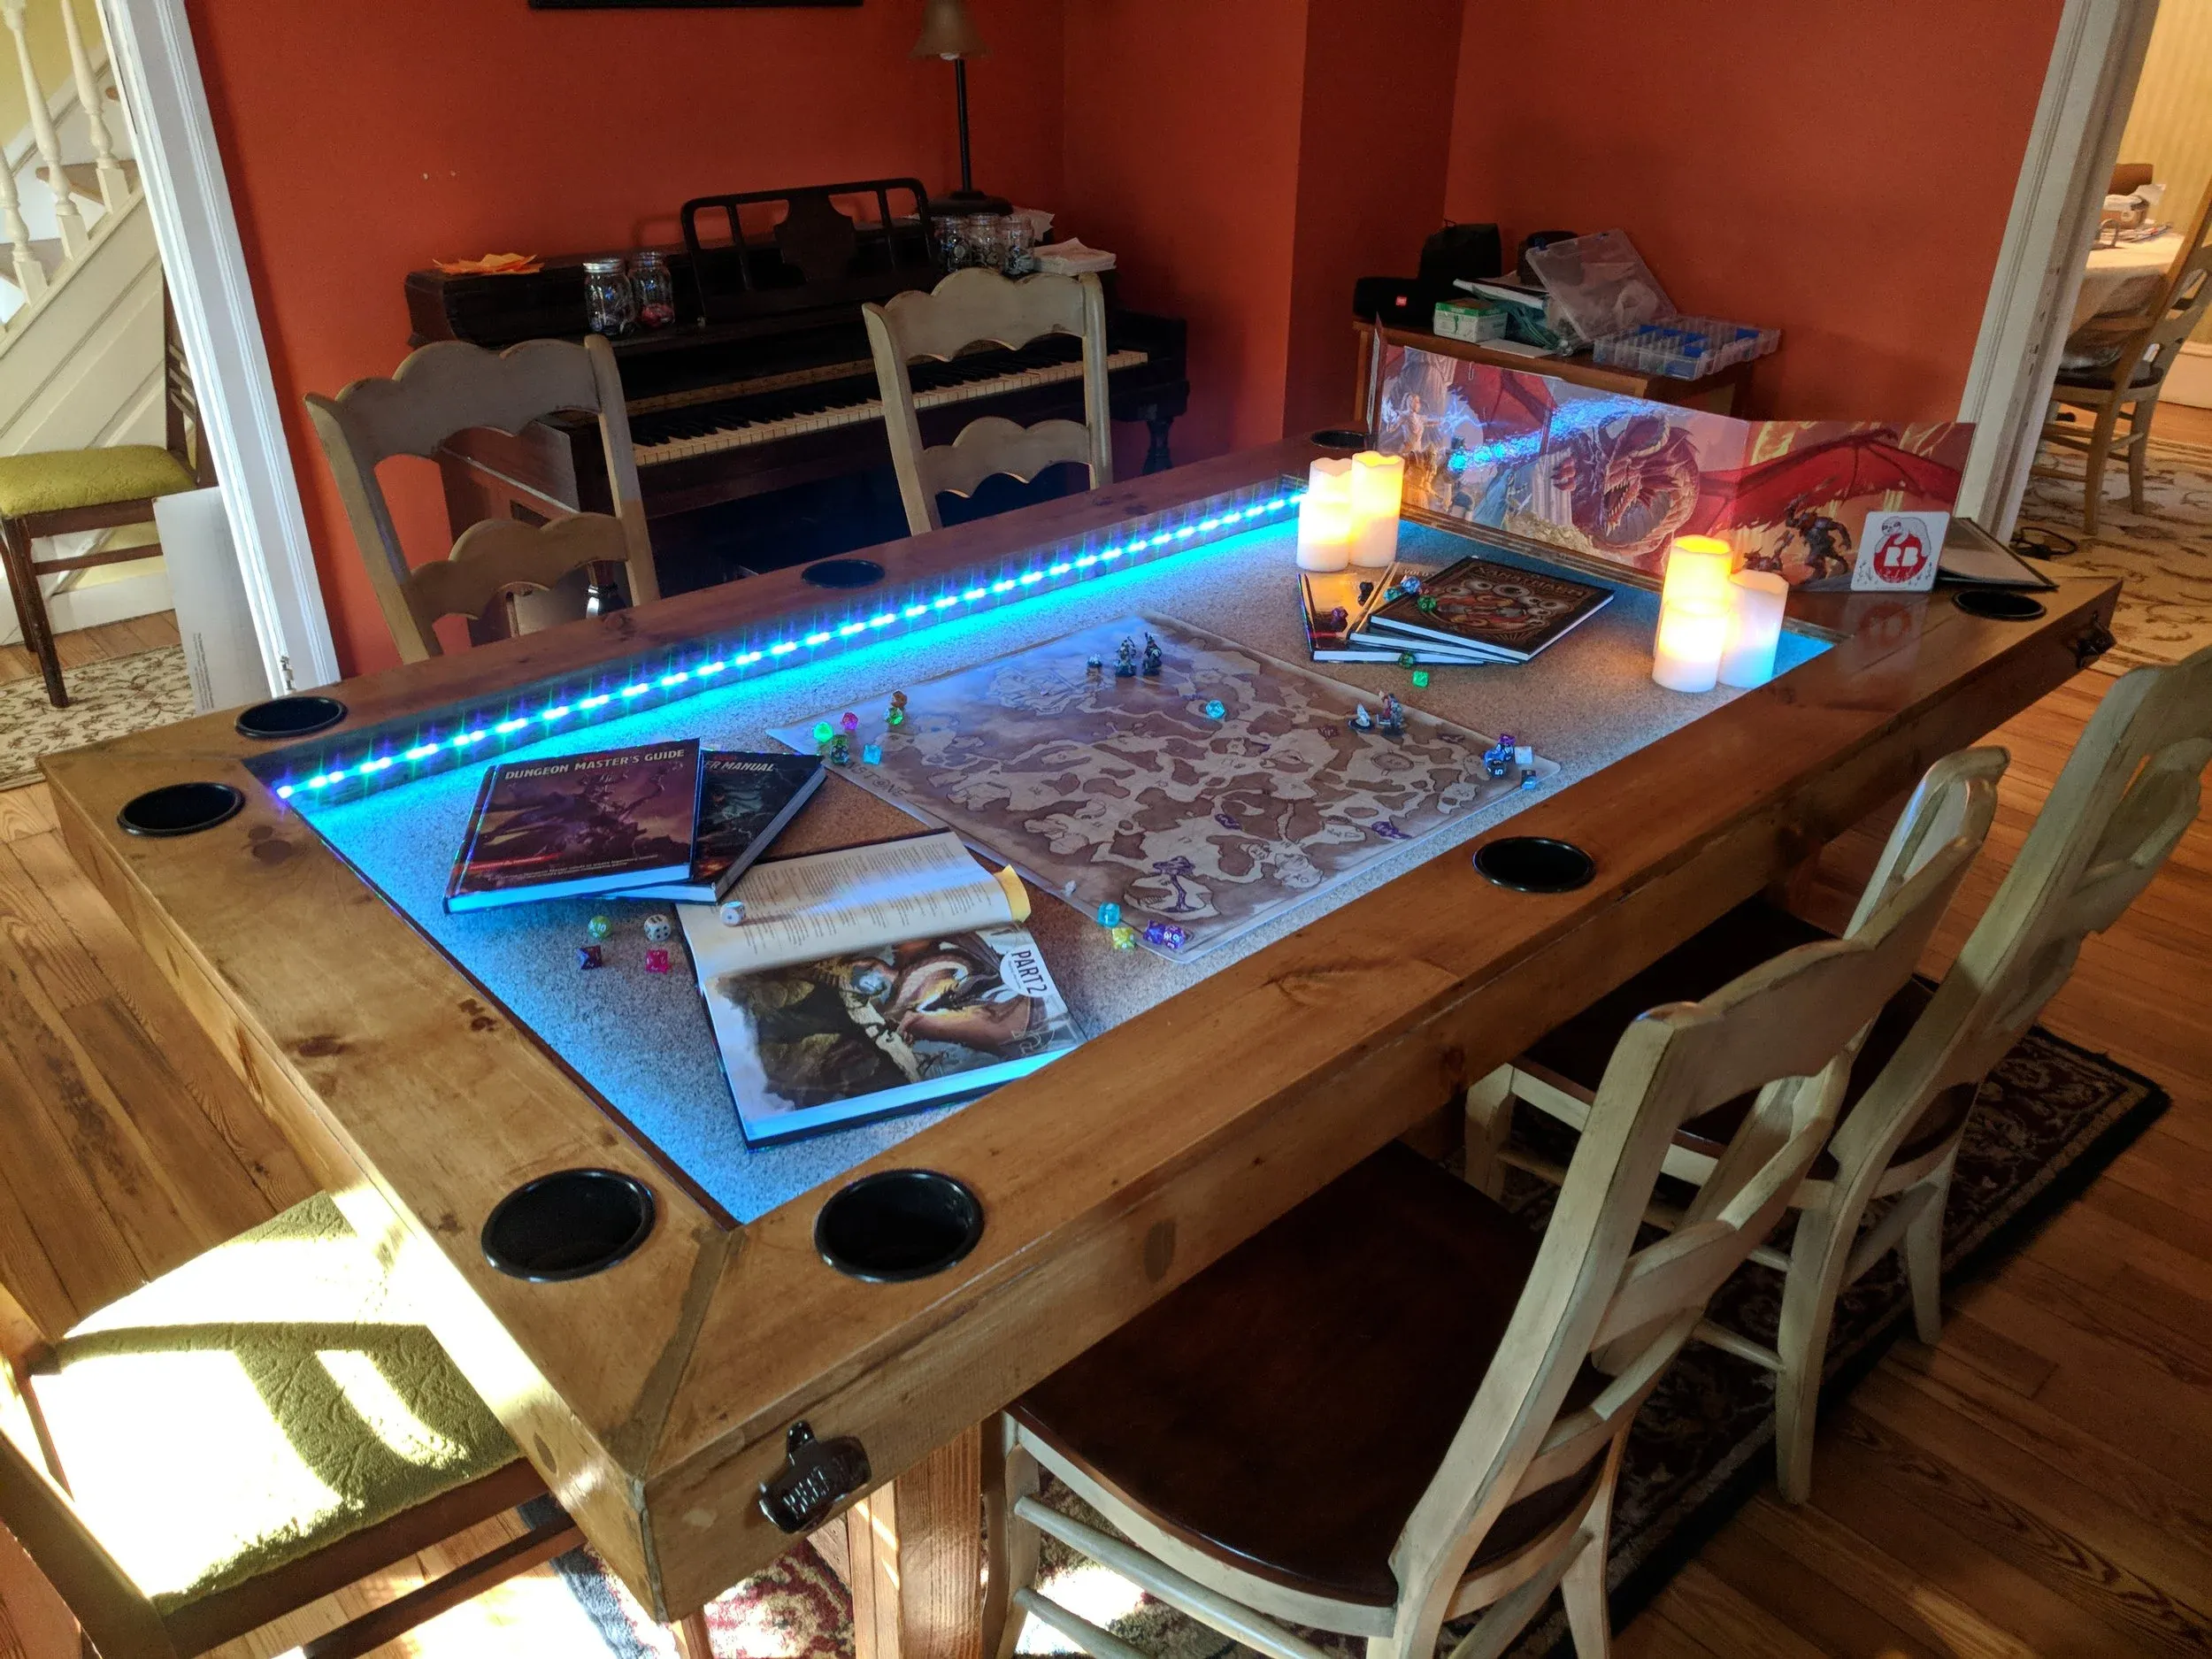
To elevate the atmosphere, LED strip lighting was installed around the inner edge of the gaming pit. This added dynamic lighting options that can match different campaign settings, from dark dungeon encounters to bright outdoor adventures.
 RGB LED lighting installed inside gaming table for immersive D&D sessions
The lighting system includes:
- Color-changing LED strips
- Remote-controlled brightness and hue settings
- Concealed wiring routed through the table leg
- Adjustable ambiance for different scenes
Examples of thematic lighting:
- Red for dragon battles
- Green for forest exploration
- Warm tones for tavern roleplay scenes
This feature adds a strong visual identity to the table and enhances storytelling during sessions.
Final Assembly and Finished Table
After all structural and aesthetic components were completed, the final step was assembling everything into a fully functional gaming table. The removable top panels allow the table to switch between a normal dining surface and a hidden RPG battlefield in seconds.
The final design includes:
- A sturdy wooden frame built for long-term use
- A recessed cork play area for RPG gameplay
- Integrated LED lighting for ambiance
- Cup holders and accessory space
- A removable tabletop cover for daily use
The result is a fully functional hybrid table that supports both casual home use and immersive tabletop RPG campaigns.
Conclusion
Building a custom Dungeons & Dragons gaming table is a rewarding project for anyone looking to improve their tabletop experience. Instead of relying on expensive prebuilt options, this DIY approach allows full customization in size, materials, and features while maintaining durability and practicality.
For players searching for a reliable [keyword] solution, this type of build offers:
- Better space management for large parties
- Enhanced immersion through lighting and design
- Long-term durability for weekly sessions
- Flexibility between gaming and everyday use
Whether you’re a Dungeon Master running long campaigns or a casual player hosting game nights, a custom-built table like this can transform the entire experience.
References
- Dungeons & Dragons Official Website: https://dnd.wizards.com
- Basic woodworking construction techniques and framing principles
- DIY gaming table inspiration and community builds from tabletop RPG hobbyists