The integration of V-Ray into Revit marks a significant advancement in architectural visualization, allowing for design and rendering within a single application. ArchiDesign studio’s testing reveals the capabilities and potential challenges of this powerful tool, offering insights for professionals looking to streamline their workflow. This article provides an overview of V-Ray for Revit, focusing on its core parameters, rendering process, and overall user experience.
Understanding V-Ray for Revit Parameters
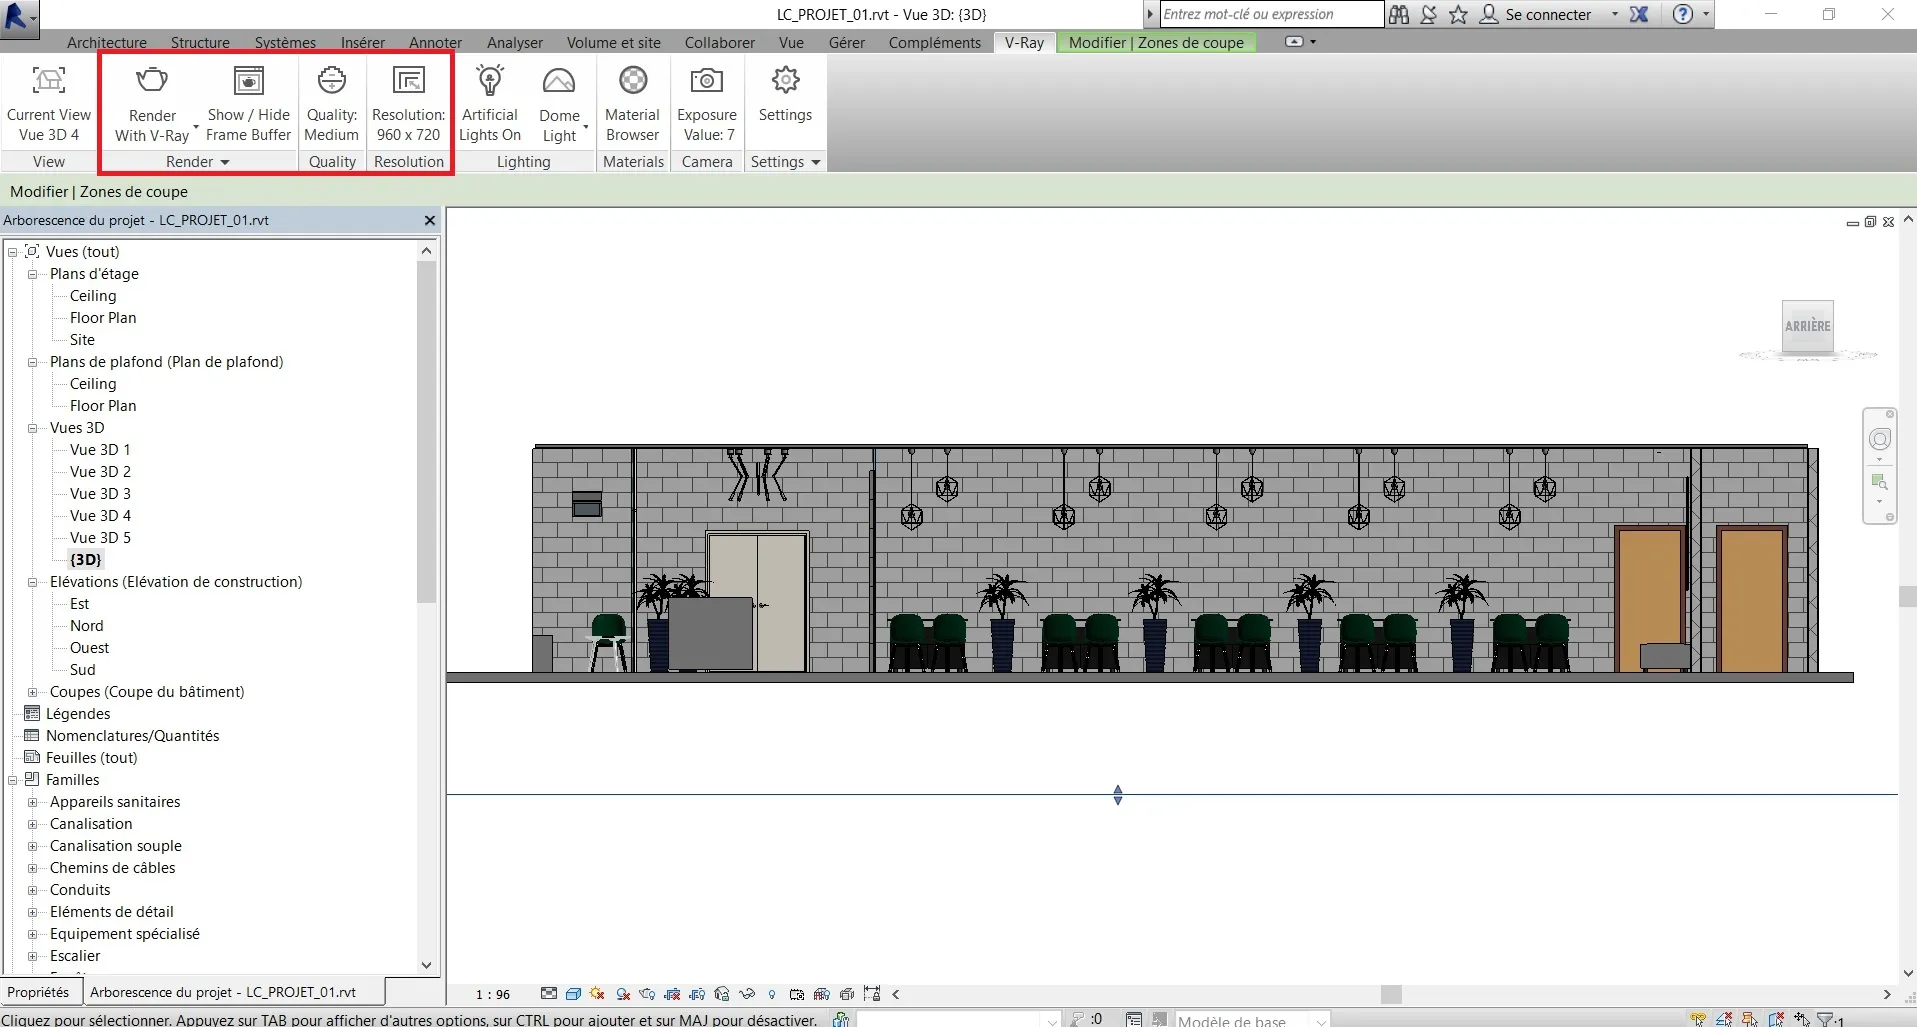
For users familiar with V-Ray in other software, the Revit module offers a consistent experience, adapted to the Revit interface. For newcomers, understanding the basic technical parameters is crucial for getting started. The default settings are generally sufficient for initial use, but exploring each tab can optimize render quality. Key areas include general settings, which govern render behavior, and advanced options for fine-tuning.
Mastering Camera Settings
The camera settings within V-Ray for Revit are a powerful feature, enabling users to precisely control the virtual camera’s behavior and achieve desired visual outcomes. With fifteen distinct functions for both exterior and interior exposure, users can experiment to find the perfect settings for their renders. Those with a background in photography may enjoy manual configuration, while beginners can still achieve impressive results through experimentation. This flexibility allows for a wide range of stylistic choices, from realistic lighting to dramatic perspectives.
Optimizing Materials with the Materials Map
The Materials Map in V-Ray for Revit is designed to recognize and manage all materials used within a Revit project. This includes native Revit materials as well as custom V-Ray materials that can be created and modified to enhance the final render’s quality. Users can easily assign and adjust material properties, such as texture, reflectivity, and transparency, to achieve photorealistic results. This feature is essential for accurately representing the intended look and feel of a design.
Harnessing Atmosphere and Artificial Lighting
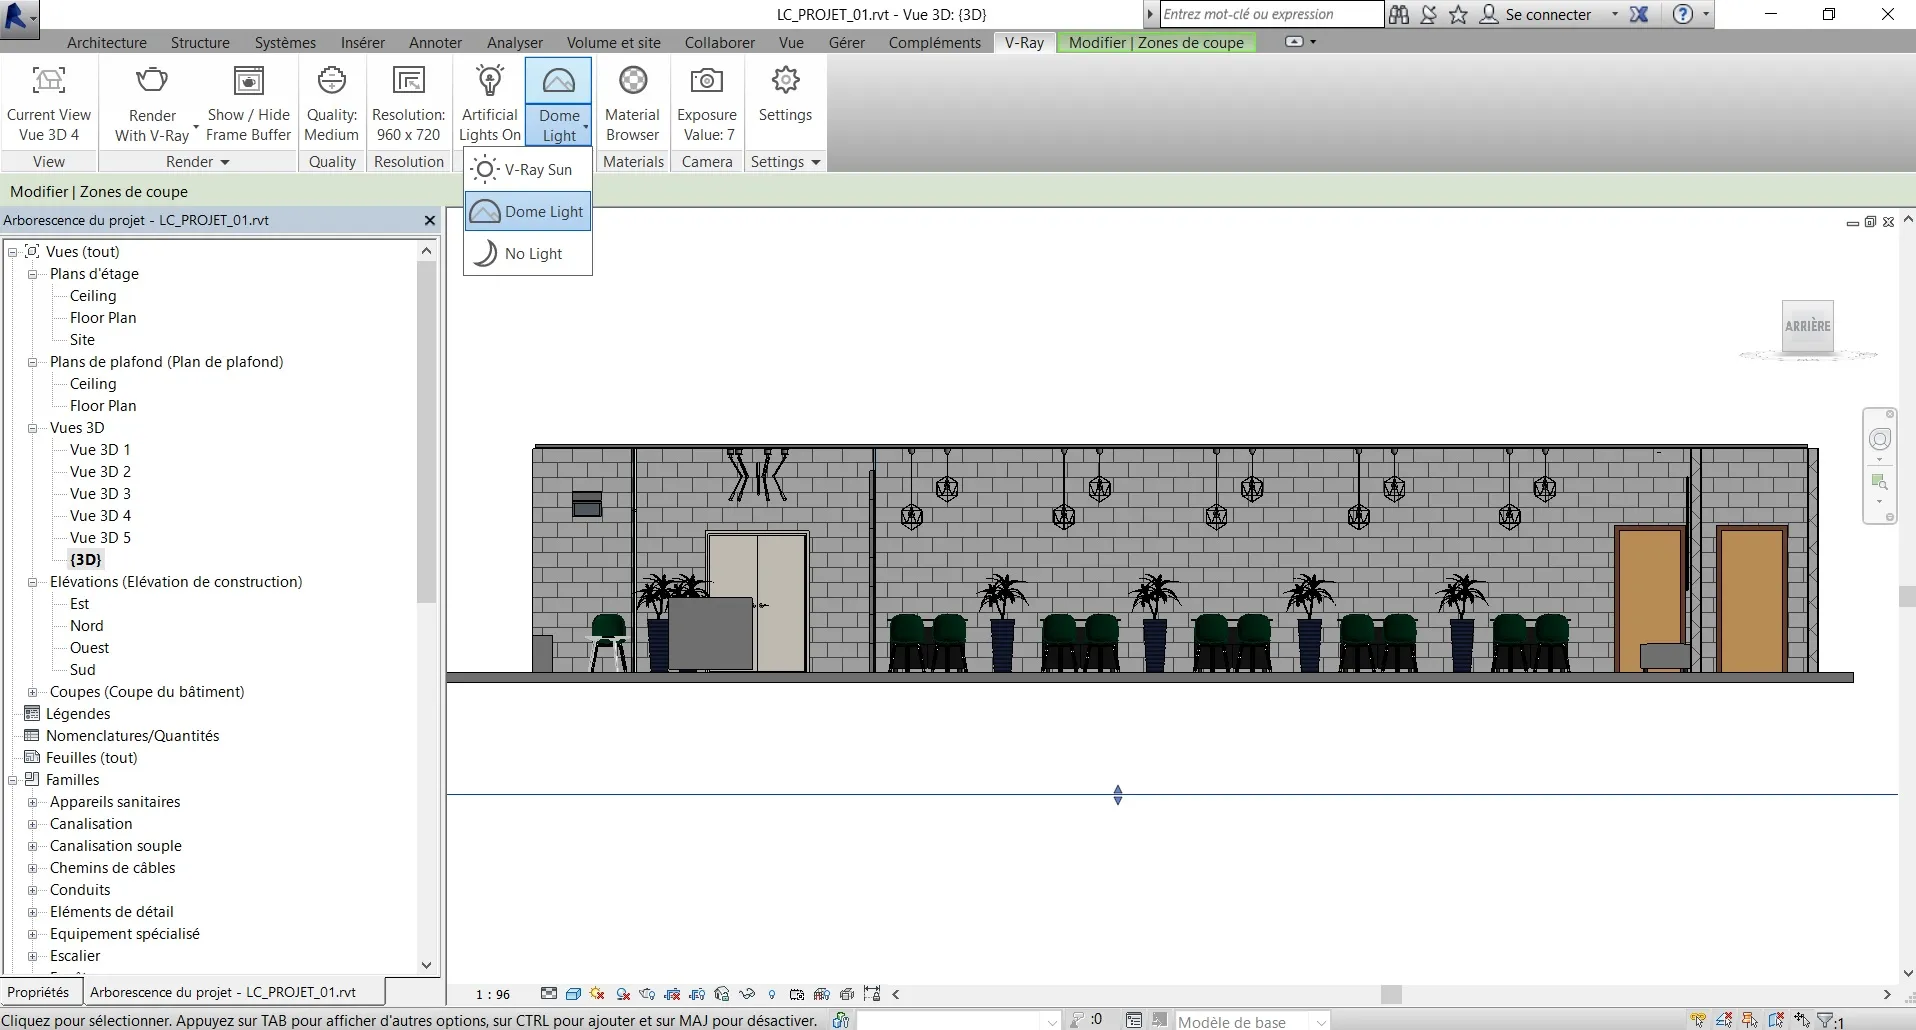
V-Ray for Revit offers robust controls for both natural and artificial lighting, allowing users to define the render environment with precision. The Atmosphere Light function enables the simulation of various lighting conditions, from daylight to ambient occlusion. Users can choose to work with real-world parameters or simplified settings. For projects requiring specific lighting effects, the Artificial Light function provides the ability to work with the native properties of Revit’s light families, ensuring accurate representation of light sources and their impact on the scene.
Navigating Quality and Size Configurations
Configuring the quality and size of the final render is a critical step that can sometimes present challenges. Testing on a 500 m² project with a standard Core i7 GEFORCE computer revealed that achieving average quality required significant time, while high-quality renders often led to errors and application crashes. This suggests that balancing the complexity of BIM data with visualization demands in a single application may require powerful hardware or further optimization. It highlights the ongoing quest for a seamless integration of BIM and architectural visualization without compromising performance.
Understanding the Render Process
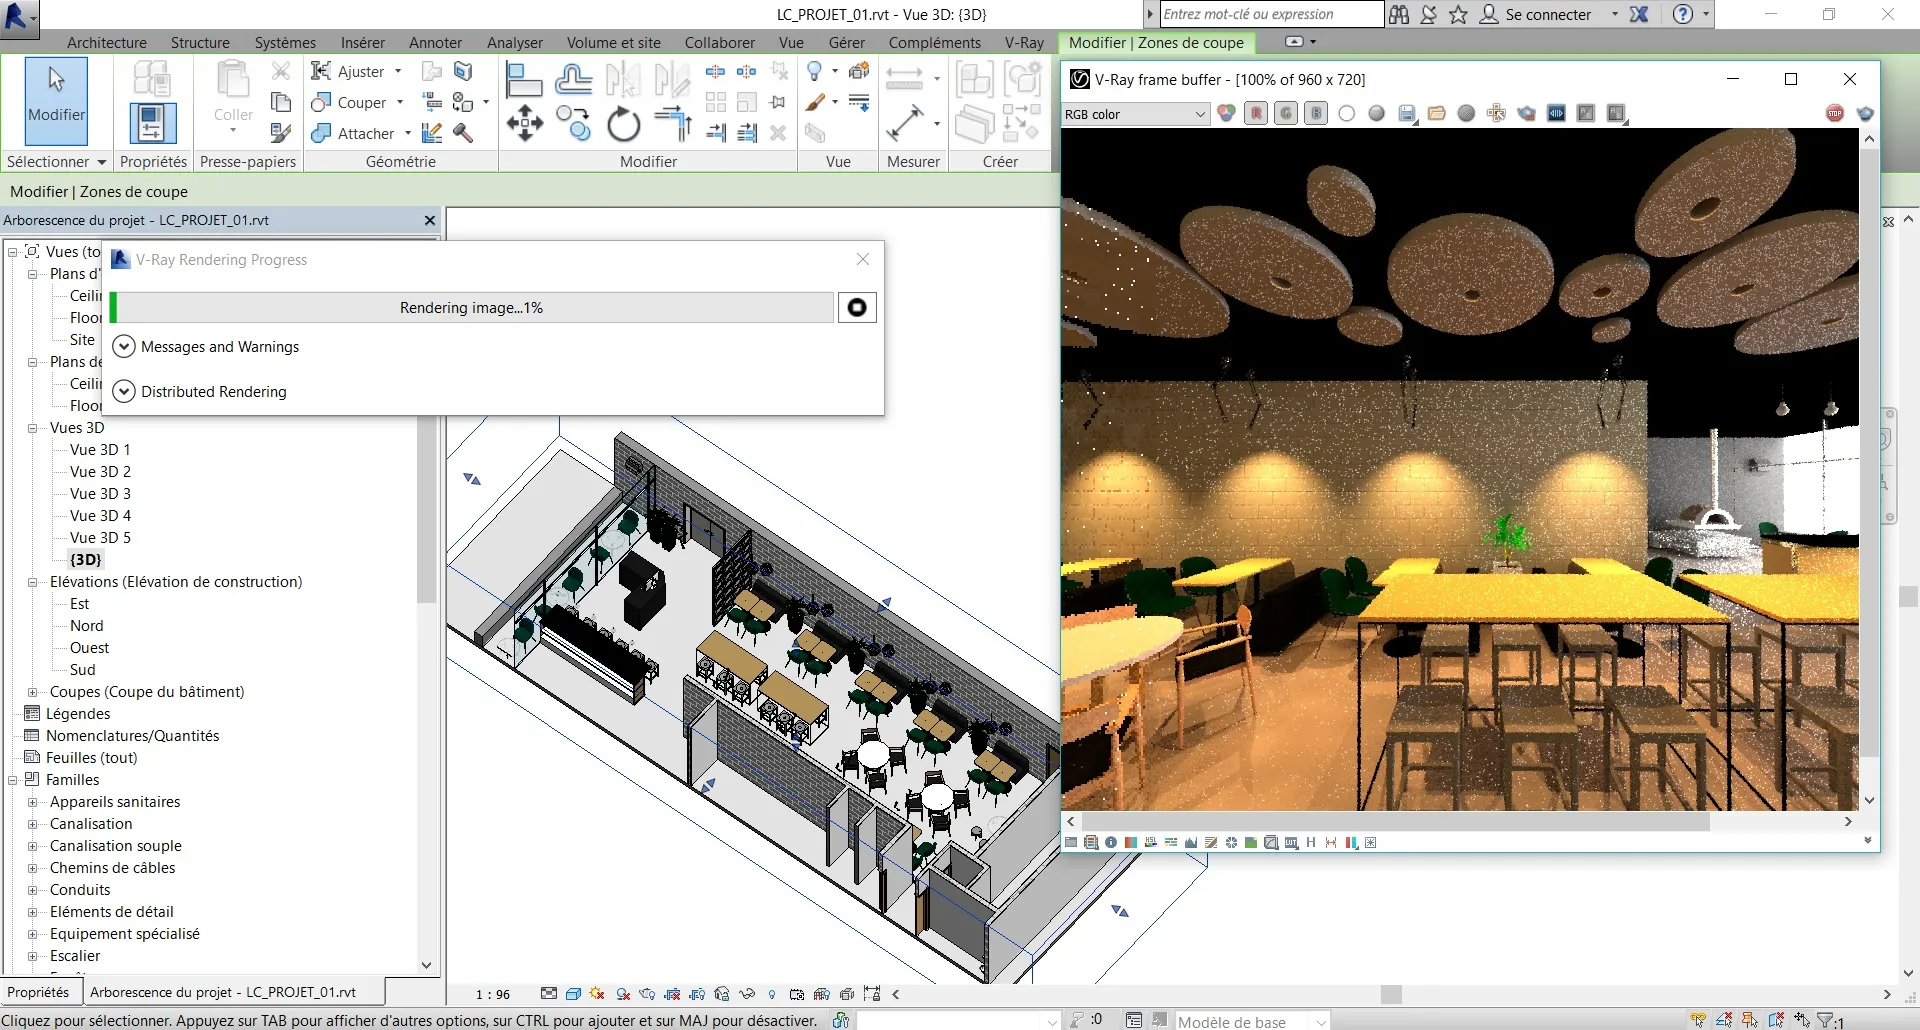
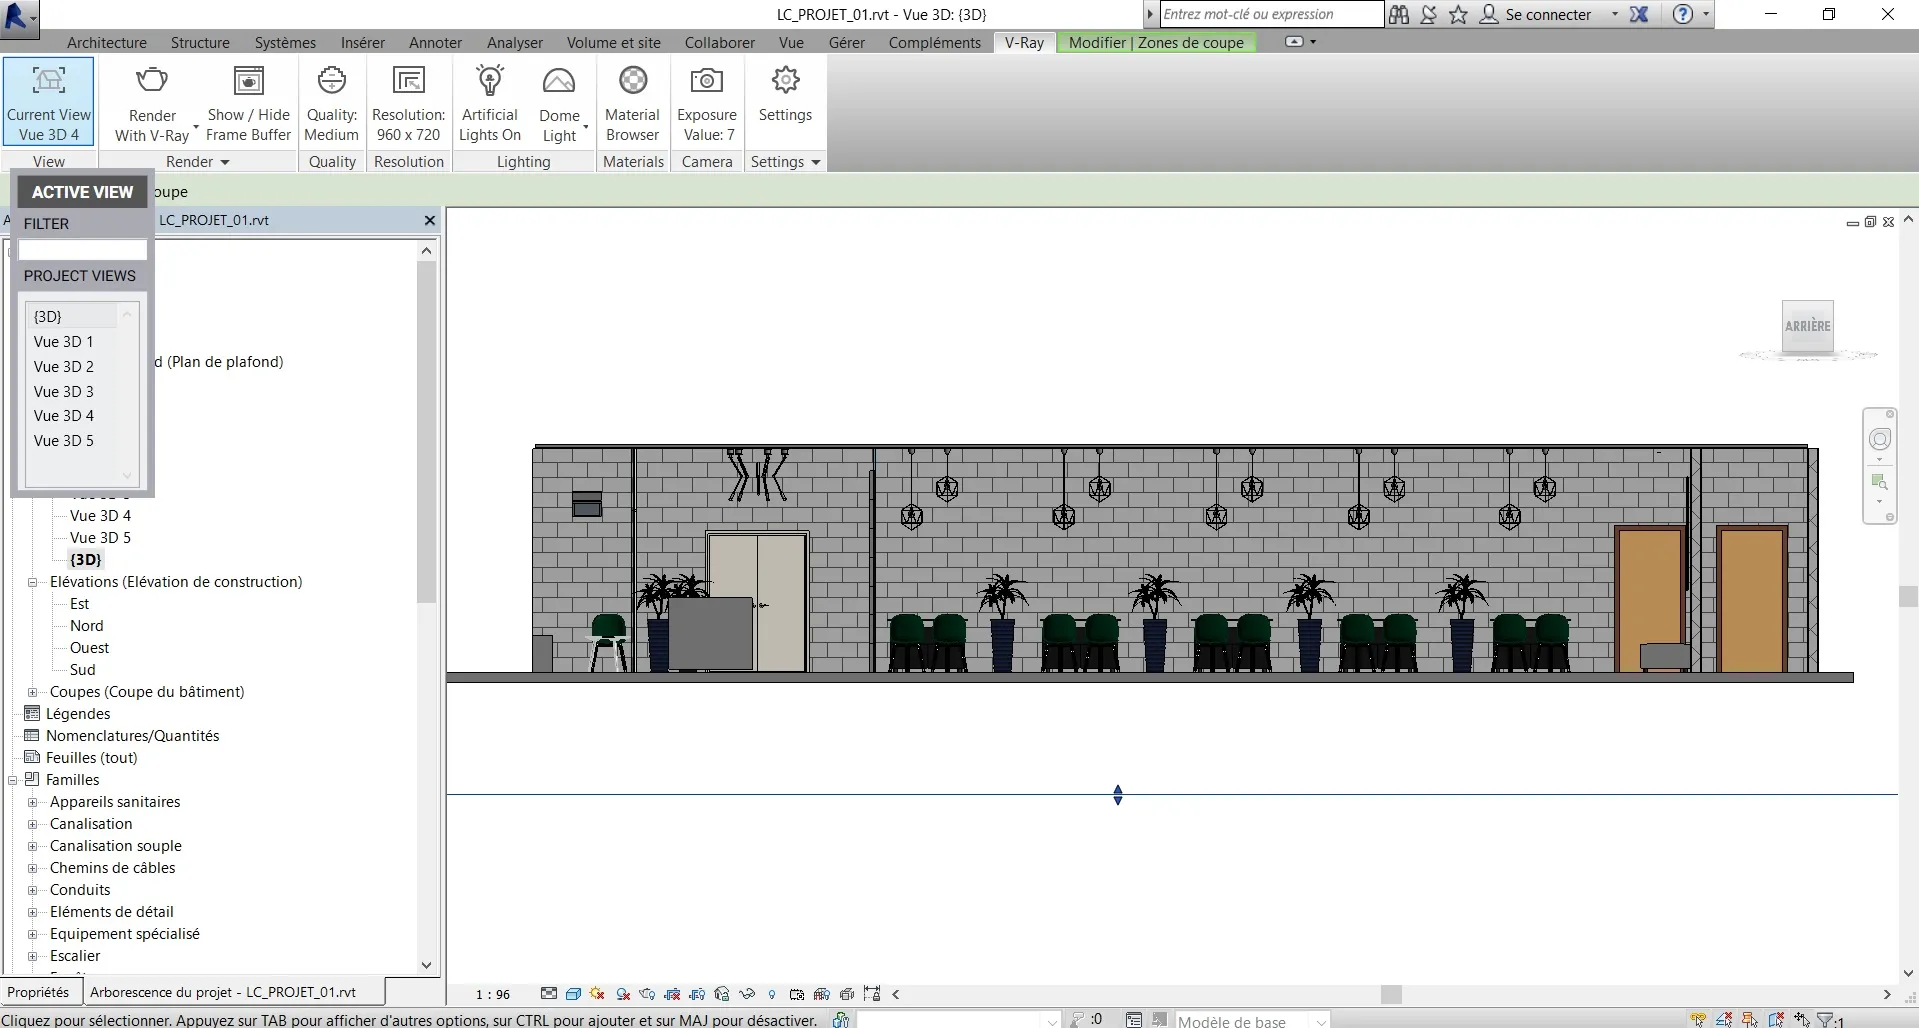
The rendering process in V-Ray for Revit, particularly with perspective views, has a specific workflow. Users need to create and name their perspective views first, then navigate to the V-Ray add-in to select the desired view for rendering. The “Render” button initiates the process, opening the view in the render window. While the beta version had limitations, the hope is for future updates to streamline this process, allowing for direct rendering of active perspective views.
Enhancing Image Production with Real-time Adjustments
A standout feature is the Image Production function, which allows for real-time adjustments to the render, such as modifying image saturation, even when the render is already in progress. This capability acts as a significant time-saver during the pre-composition phase. Deactivating this feature is an option if such dynamic adjustments are not required.
 V-Ray for Revit Image Production Adjustments
Project Render Example: Pizza Restaurant
Project: Pizza Restaurant
Size: 500 m²
Quality Settings: Method (Revit tools only)
Exposure Value: 7 – Interior – Home
Resolution: 960×720
Render Time: 23 minutes
This example showcases a practical application of V-Ray for Revit, providing a benchmark for render times and settings.
For more insights, visit http://archidesign.co.