
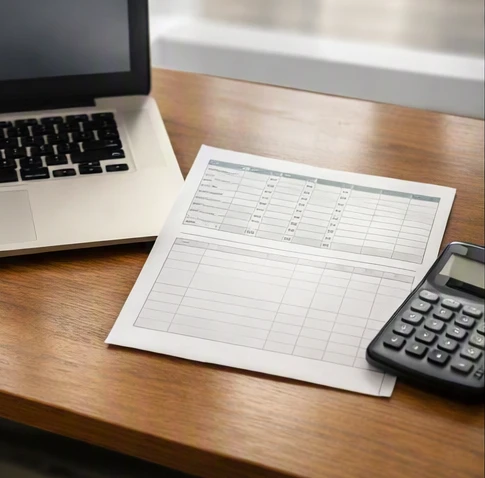
An Excel check printing template is a spreadsheet layout designed to place check information—such as date, payee, amount, signature area, and banking details—in the correct positions for printing. To use one, create or modify an Excel worksheet, connect each field to the check format, adjust page settings, test print on plain paper, and then print on actual check stock.
Printing checks from Excel can be practical, but many users get stuck when the check layout does not match the physical check paper. This guide explains how to create and customize an Excel check printing template, place payment fields correctly, calibrate print alignment, and build a repeatable process for personal or small business payments.
An Excel check printing template is a spreadsheet layout designed to place check information, such as the date, payee, amount, signature area, and banking details, in the correct positions for printing. It is used to prepare checks from editable spreadsheet data while matching the layout of specific check stock. To use one, you create or modify an Excel worksheet, connect each field to the check format you need, adjust page settings, test print on plain paper, and only then print on actual check stock.
How an Excel check printing template works
An Excel check printing template separates payment information from the physical printing layout. Instead of writing every check manually, users can create reusable spreadsheet formatting that places consistent fields in predictable locations.
For personal payments, a simple layout may contain only the information needed for an individual check. For small businesses, the same approach can support recurring vendor payments when combined with a check register, payment references, and organized financial record keeping.
Core elements of a printable check layout
A printable check layout needs to match the information printed on the physical check and the requirements of the payment process. The exact placement depends on the check stock being used, so an Excel layout should be treated as a customizable template rather than a universal format.
Common fields include:
- Check date: The date the payment is issued.
- Payee information: The person or company receiving payment.
- Numeric amount: The payment value displayed in numbers.
- Written amount: The payment value written in words for verification.
- Memo or payment reference: A note that connects the check to an invoice, purchase, or accounting record.
- Signature area: A space for the authorized signature when required.
- Check number sequence: A reference number that helps track issued payments.
- Bank account details: Information associated with the payment account, depending on the check format.
- MICR line: The encoded banking line printed on many checks that contains routing and account information.
In practical spreadsheet work, the easy-to-miss step is separating the data entry area from the printable check area. A reliable structure keeps payment details editable while protecting the layout cells that control the final print position.
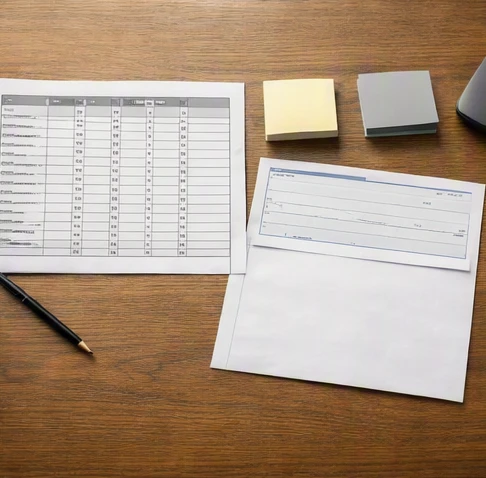
Differences between digital and pre-printed checks
Excel does not replace the physical check itself. It controls the information placed onto the check, while the paper format determines where that information must appear.
Pre-printed bank checks already contain elements such as bank branding, fixed design areas, and often the MICR line. A blank check stock workflow requires more planning because the template must account for every printed element and any required banking features.
Before creating a layout, identify whether you are using:
- Pre-printed check paper with existing bank information.
- Blank check stock intended for compatible printing systems.
- A business check format with additional payment fields.
A template that works for one check style may not align with another. Always measure the specific check stock and adjust the Excel check layout instead of assuming a standard format will fit every bank check.
Create a check format in Excel step by step
Creating a check template using Excel starts with planning the fields before changing column widths or row heights. The goal is to build a worksheet that is easy to edit but predictable when printed.
Map check fields before designing the sheet
Start by listing every field that must appear on the printed check and deciding where each field belongs. This prevents a common mistake: designing the appearance first and discovering later that important payment information does not have a clear location.
Essential check template fields
- Create separate cells for the check date and payee name so each entry has a consistent location.
- Reserve dedicated fields for both the numeric amount and written amount to reduce payment entry mistakes.
- Add a payment reference field that connects the check to invoices, vendors, or accounting records.
- Keep editable data entry cells separate from layout and print formatting areas so the template structure is easier to maintain.
After mapping the fields, create a worksheet structure with two areas:
- A Data Entry Section where payment details are entered.
- A Page Preview Section where only the final check layout is displayed and printed.
This approach reduces accidental changes to spacing and makes repeated check preparation easier.
Configure Excel page layout settings
After the worksheet structure is ready, adjust the spreadsheet formatting controls that affect printing.
Follow these steps:
- Open Excel and create a new worksheet or modify an existing check template.
- Set the page orientation and paper size to match the intended printing method.
- Create the check preview area and place each field in the approximate position where it appears on the physical check.
- Adjust column widths and row heights to move fields horizontally and vertically.
- Define the print area so Excel sends only the check preview section to the printer.
- Review the Print Preview window before printing any check stock.
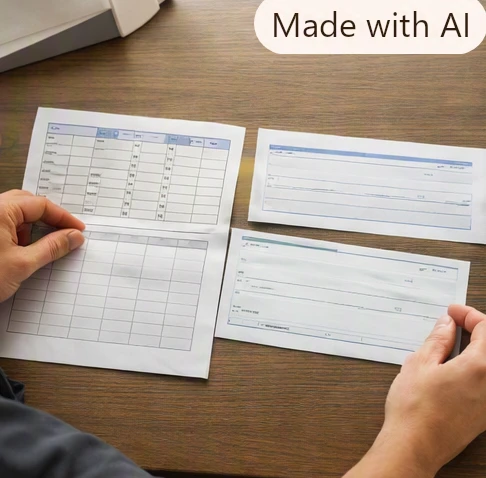
Page layout settings matter because Excel can display a correct-looking worksheet while printing it differently. Check scaling, margins, and printer properties before using real checks.
When customizing an Excel check layout, avoid relying only on visual appearance in the worksheet. The final measurement that matters is where the ink lands on the physical paper.
Calibrate Excel checks for accurate printing
Calibration is the process of matching the Excel layout to the physical check dimensions. A template should be adjusted against the actual check paper being used, not copied from a different format.
A common failure mode is treating alignment as a design issue instead of a measurement issue. A small shift in margins, scaling, or printer feeding can move every field away from its intended position.
Adjust spreadsheet settings for check stock
A practical calibration process converts physical check measurements into spreadsheet adjustments.
Check alignment measurement workflow
Situation: A pre-printed check requires the payee field to align with a location measured from the top and left edges of the check stock.
Steps:
- Measure the distance from the check’s top edge and left edge to each printed field location.
- Adjust Excel column widths, row heights, and cell positions until the previewed fields match the measured coordinates.
- Print a draft layout on plain paper before using actual check stock.
- Place the draft over the real check paper and verify that every field lines up correctly.
Result: The Excel layout can be confirmed against the physical check positions before consuming actual check stock.
Note: Printer scaling and paper feed settings can change the final position, so verify the draft using the same printer settings intended for the real print run.
A safer way to check alignment is to compare the draft print with the actual check paper under normal lighting. If every field is shifted by the same amount, the problem is usually a page position setting rather than individual cell placement.
Diagnose common alignment failures
Random margin changes often waste time because alignment problems come from different sources. Identify the symptom first, then adjust the related setting.
Problem source, symptom, and solution
| Problem source | Common symptom | Adjustment area | Solution |
|---|---|---|---|
| Page positioning or margins | All check fields shift by the same amount | Excel page layout and printer margins | Correct margins, print position, and scaling settings |
| Excel field coordinates | Only specific fields appear incorrectly placed | Cell positions, row heights, and column widths | Re-measure and adjust individual layout areas |
| Printer scaling or paper feed | Alignment changes after printing despite correct preview | Printer properties and paper handling settings | Disable unintended scaling and confirm paper feed options |

Additional diagnostic signs can help isolate the problem:
- If the preview looks correct but the print is shifted, check printer scaling first.
- If only one field is misplaced, adjust the related cells instead of changing the entire page.
- If every field moves in the same direction, recheck the measured starting position and margins.
Build a repeatable business payment workflow
An Excel template becomes more useful when it supports a repeatable payment process instead of a single check. Small businesses can combine a printable layout with organized payment records to reduce manual errors.
The key step for recurring vendor payments is maintaining a connection between the printed check and the accounting record. The check number, vendor information, payment date, and reference details should remain traceable after printing.
Adapt templates for multiple business payments
For recurring vendor payments, add fields that make each transaction easier to review:
- Vendor name and contact reference.
- Invoice or purchase reference.
- Payment category.
- Check number sequence.
- Payment status.
A simple workflow can look like this:
- Enter payment information in the Data Entry Section.
- Confirm bank account details, payee information, and payment amount.
- Transfer the approved details into the Page Preview Section.
- Print a test copy when changing the layout or using new check stock.
- Record the issued check number in the check register.
This approach helps separate preparation from printing and creates a clearer financial record-keeping trail.
Maintain accuracy during repeated check runs
Repeated payments introduce different risks than occasional personal checks. The main challenge is consistency.
Repeatable payment workflow checks
- Separate payment data entry from the printable check layout so formatting changes do not overwrite payment details.
- Review vendor, account, and amount details before each print run to catch incorrect entries before printing.
- Track check numbers and payment references to prevent duplicate payments.
- Save a backup copy of the template before changing formulas, fields, or print positions.
For a small business printing a limited number of checks, this level of organization may be enough. Higher-volume workflows require stronger automation and controls, which is where dedicated check printing software becomes more useful.
Choose between Excel and check printing software
Excel can work well for users who need a customizable check layout and have a manageable number of payments. It becomes less practical when payment volume, approval requirements, or automation needs increase.
| Criteria | Excel template | Check printing software | Best fit |
|---|---|---|---|
| Payment volume | Suitable for occasional personal or small business payments | Designed for frequent batches and repeated processing | Choose Excel for low volume; choose software for higher volume |
| Workflow structure | Can use separate data entry and print preview sections | Usually provides automated payment workflows | Choose Excel for simple records; choose software for recurring operations |
| Control requirements | Requires manual review and template management | May include approvals, automation, and integrations | Choose software when stronger controls are needed |
Compare workflows by payment volume
The decision depends less on whether Excel can print a check and more on whether the process remains manageable.
Excel is usually appropriate when:
- Payments are occasional.
- One person reviews and prepares checks.
- The business can maintain a clear check register manually.
- Custom field placement matters more than automation.
Dedicated check printing software may be more suitable when:
- Multiple people approve payments.
- The business prints many checks regularly.
- Payment records need automatic connections with other systems.
- Manual template management creates too many opportunities for mistakes.

A decision rule is simple: if maintaining the spreadsheet layout, payment records, and review process takes more effort than preparing the payments themselves, a dedicated tool may provide better workflow control.
Evaluate software features beyond templates
A software solution is not only a different template. Its value usually comes from workflow features.
Look for capabilities such as:
- Automated payment data handling.
- Approval workflows.
- Integration with accounting records.
- User permissions.
- More structured check number management.
Security precautions also matter when printing checks at home or in a small office. Store unused check paper securely, limit access to banking details, and review printed checks before distribution. These steps reduce exposure but cannot guarantee protection against every type of payment fraud.
Customize Excel check templates for different needs
A basic template can be modified for different payment situations, but each change should preserve clear field placement and accurate records.
Prepare payroll and recurring payment layouts
Payroll checks and recurring payments usually require more information than a simple personal check. A customized layout may include additional references such as employee identifiers, payment periods, or deduction notes depending on the organization’s process.
When adapting a payroll check template:
- Keep employee payment details separate from the printable design area.
- Add recurring fields only where they are required by the workflow.
- Review each new field placement with a plain-paper test print before using check stock.
The same principle applies to vendor payments: add information that improves tracking, but avoid overcrowding the check layout.
Improve template reliability before use
Before relying on a customized Excel template, verify that the file is easy to maintain.
Good practices include:
- Save a backup version before modifying the layout.
- Protect formula areas so users do not accidentally overwrite calculations.
- Review the final Print Preview Section before every major print run.
- Keep a sample record that shows where each field should appear.
A template is reliable when another user can understand which cells to edit, which cells control printing, and which settings should remain unchanged.
Print one plain-paper test copy of your finished Excel layout today and compare it against your actual check stock; this confirms the field positions before you use real checks and helps you avoid wasted forms or incorrect payment details.
FAQ
Can you provide an Excel template for printing checks?
Yes, you can create an Excel template for printing checks by designing a spreadsheet layout that places check information—such as date, payee, amount, and banking details—in the correct positions for printing. Start by mapping the fields, configuring the page layout, and calibrating the alignment with your check stock.
How do you print checks in Excel?
To print checks in Excel, first create or modify a worksheet with a Data Entry Section for payment details and a Page Preview Section for the check layout. Adjust the page settings, define the print area, and test print on plain paper before using actual check stock to ensure alignment.
What fields should an Excel check layout include?
An Excel check layout should include essential fields such as check date, payee information, numeric amount, written amount, memo or payment reference, signature area, check number sequence, bank account details, and the MICR line. These ensure the check matches the physical stock and payment requirements.
Where can you find a check template for printing?
You can create a custom check template in Excel by designing a spreadsheet that matches your check stock’s layout. Alternatively, templates may be available from financial software providers or online resources, but always verify alignment with your specific check paper before printing.
What is the standard check printing size in Excel?
The standard check printing size in Excel depends on the physical check stock you are using. Common check sizes include 8.5 x 3.5 inches or 9 x 4 inches. Always measure your check stock and adjust the Excel page layout settings to match its dimensions for accurate printing.